Are you tired of glue that just doesn’t cut it when it comes to holding your cardboard creations together?
Well, today is your lucky day. In this blog post, I’m going to spill the beans on how to make a super strong glue specifically designed for cardboard.
Whether you’re a DIY enthusiast or a professional artist, having reliable glue is an absolute game-changer for any project involving cardboard. And guess what?
You can whip up this powerful adhesive right in the comfort of your own home. No need to run to the store or break the bank.
So grab your materials, get ready for some crafting magic, and let’s dive into the recipe for the ultimate cardboard adhesive.
What Materials are Needed to Make Strong Glue for Cardboard?
Contents
- 1 What Materials are Needed to Make Strong Glue for Cardboard?
- 2 How to Make a Flour-Water Paste
- 3 Using White School Glue to Bond Cardboard
- 4 Utilizing Epoxy Adhesive for Cardboard Bonding
- 5 Specialty Glues for Bonding Cardboard
- 6 Factors to Consider When Choosing a Specialty Glue
- 7 Tips for Applying Different Types of Adhesives
- 8 Conclusion
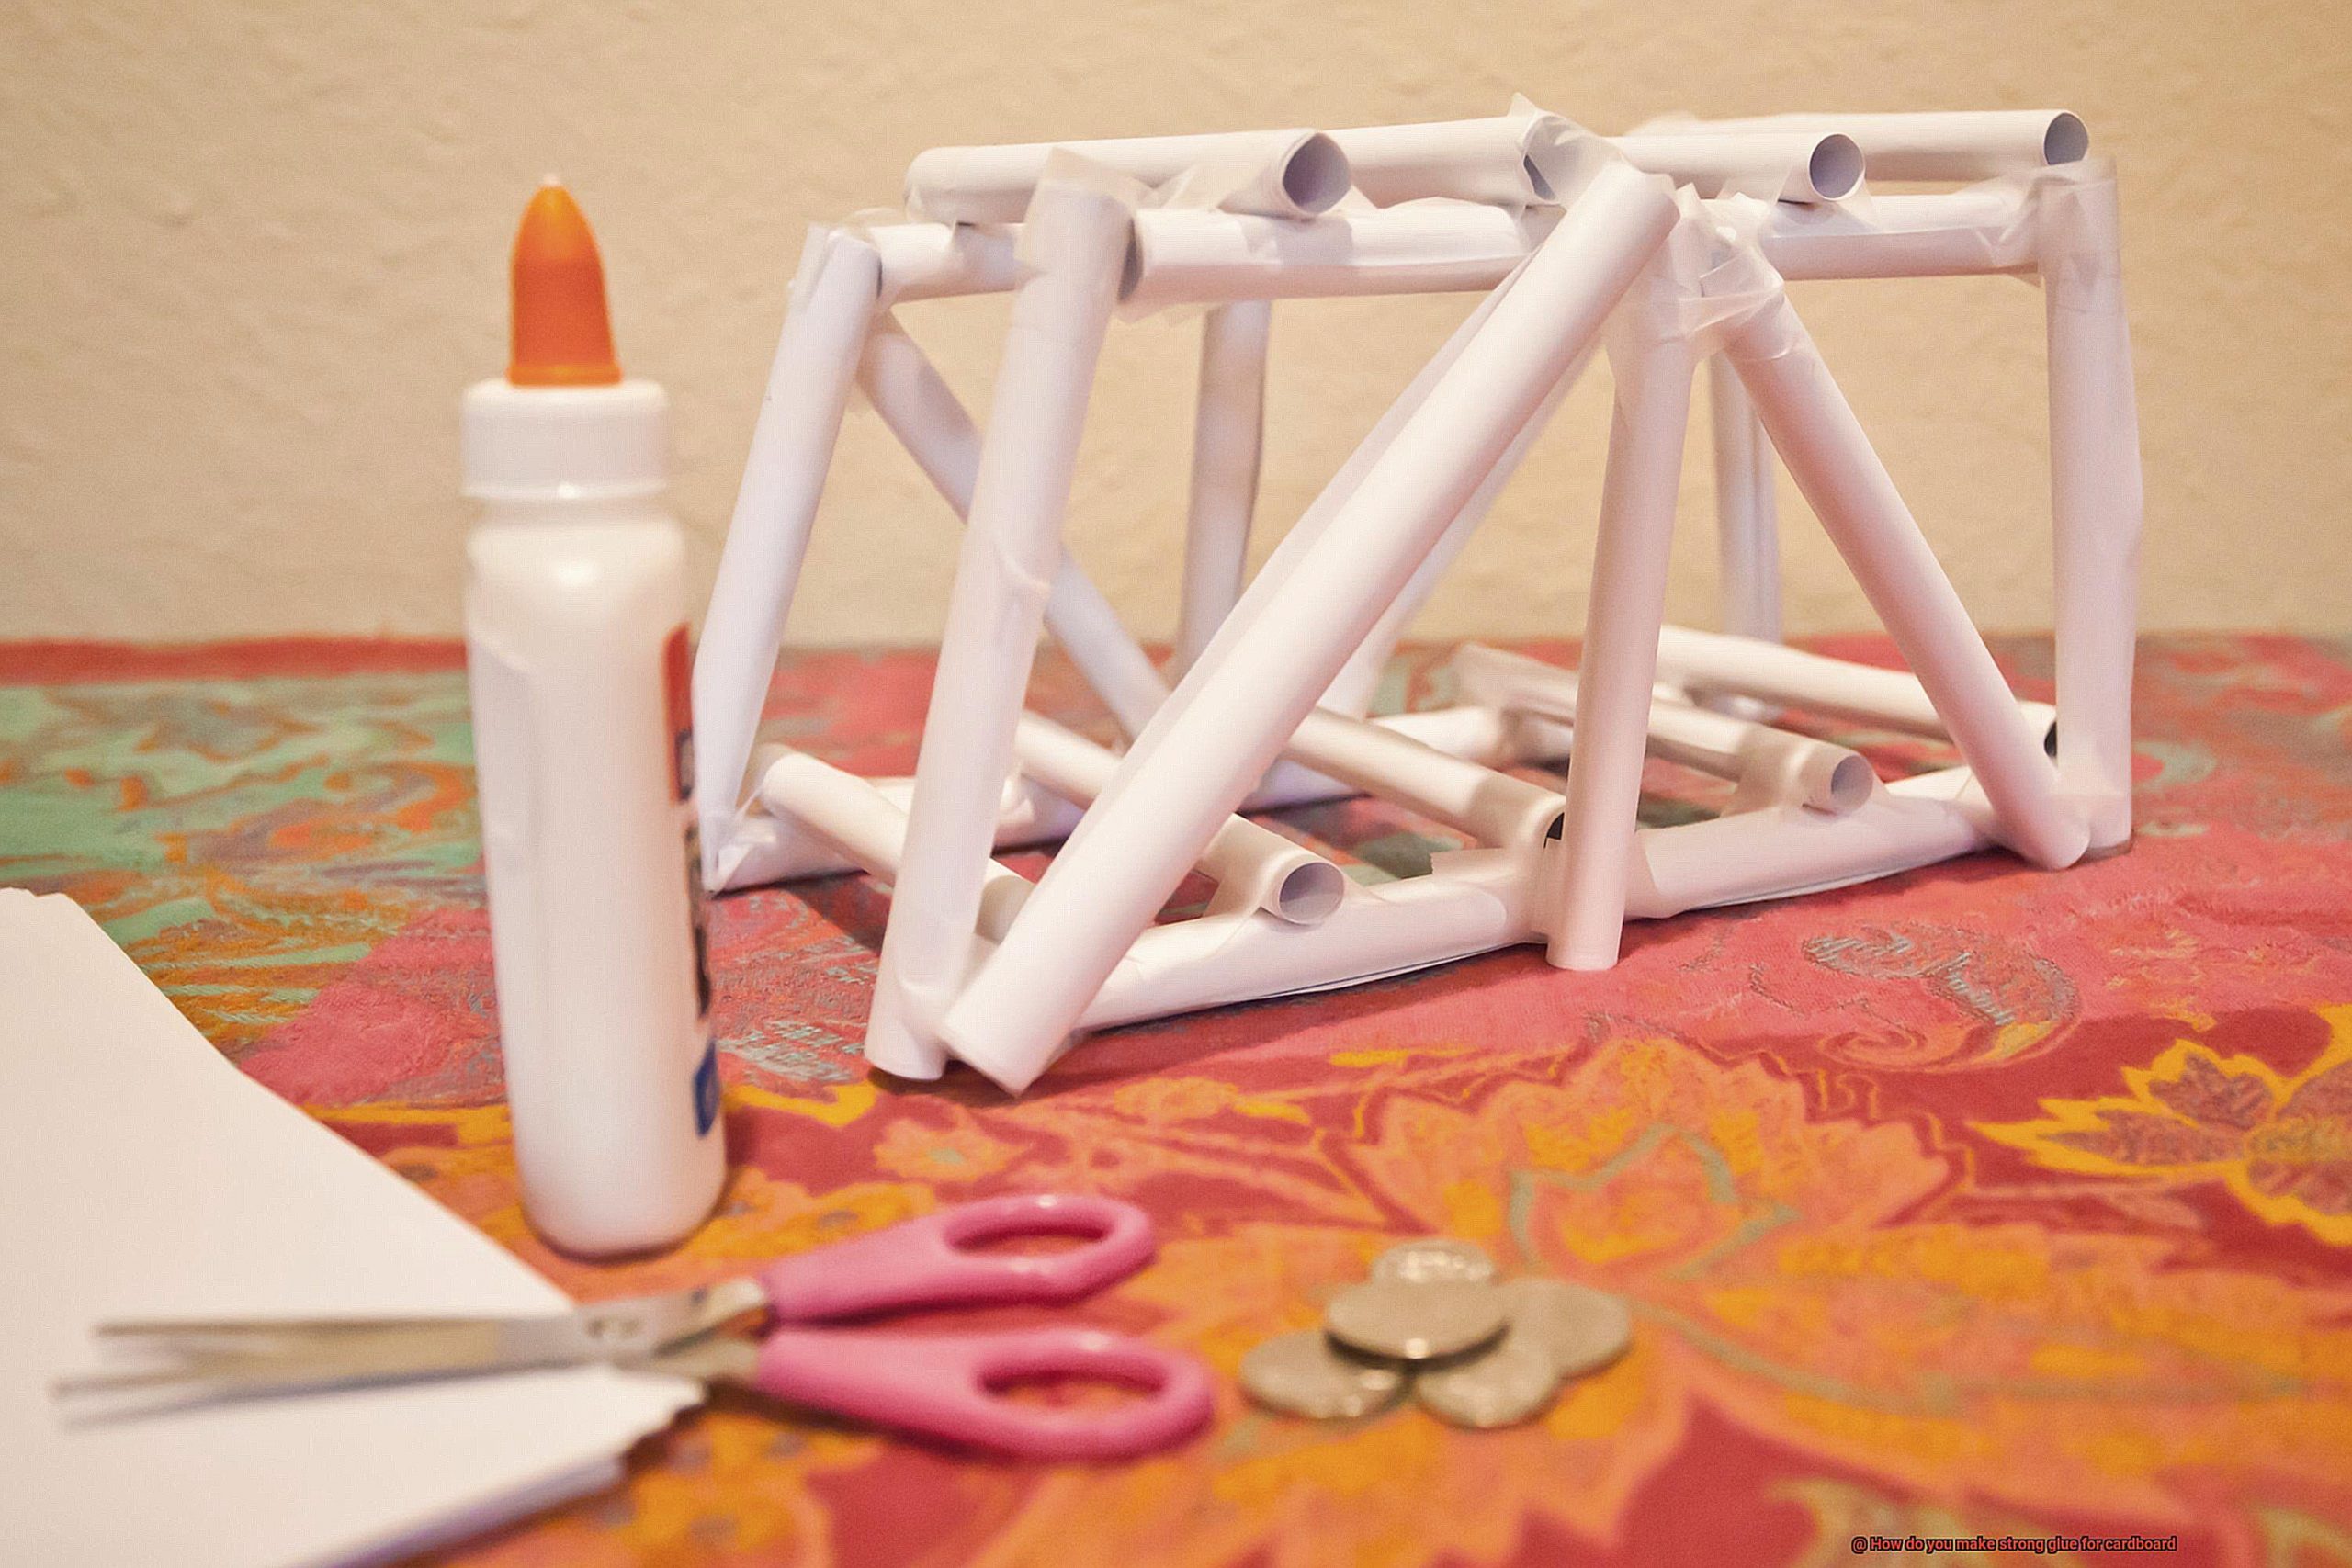
To make strong glue for cardboard, you will need the following materials:
- PVA glue: PVA stands for polyvinyl acetate, which is a type of adhesive known for its strong bond and flexibility. Choose a high-quality PVA glue for the best results.
- Cornstarch: Cornstarch is a fine white powder commonly used as a thickening agent in cooking. When mixed with water and heated, it forms a gel-like substance that adds adhesive properties to the glue mixture.
- Water: Water is essential for creating the right consistency of glue. It helps dilute the other ingredients and allows them to mix together smoothly.
- Borax: Borax is a mineral salt that acts as a cross-linking agent to enhance the adhesive properties of the glue. It strengthens the bonds between the molecules of the glue, making it more durable and resistant to moisture.
Optional additives can also be used to enhance the properties of the glue, such as vinegar to prevent mold growth or glycerin to increase flexibility.
To make the glue, mix the PVA glue with water in a 1:1 ratio. Slowly add cornstarch while stirring continuously until the mixture thickens to your desired consistency. For added strength, dissolve a small amount of borax in warm water and add it to the mixture.
Let the glue sit for a while to allow the ingredients to fully combine and thicken. Apply the glue to the cardboard surfaces you want to bond together and press them firmly for a few minutes to ensure a strong adhesion. Allow the glue to dry completely before handling or moving the glued objects.
How to Make a Flour-Water Paste
To make a strong glue for bonding cardboard, you can create a flour-water paste. This homemade adhesive is simple to make and only requires two basic ingredients: flour and water. The flour-water paste is not only effective in bonding cardboard but also safe to use, making it an excellent choice for various craft projects.
To create the paste, start by measuring out equal parts of flour and water. It’s best to use all-purpose flour as it has a fine texture that blends well with water. In a mixing bowl, gradually add the water to the flour while stirring continuously. The ideal consistency for the paste is similar to that of pancake batter, but slightly thicker. If the mixture becomes too thin, you can add more flour to thicken it.
Once the flour and water are well combined, continue stirring the mixture for a few minutes to ensure there are no lumps. It’s essential to achieve a smooth consistency to prevent any clumps from interfering with the glue’s adhesive properties.
After preparing the flour-water paste, it is advisable to let it sit for about 10-15 minutes before using it. This resting time allows the mixture to thicken slightly and reach its optimal adhesive state.
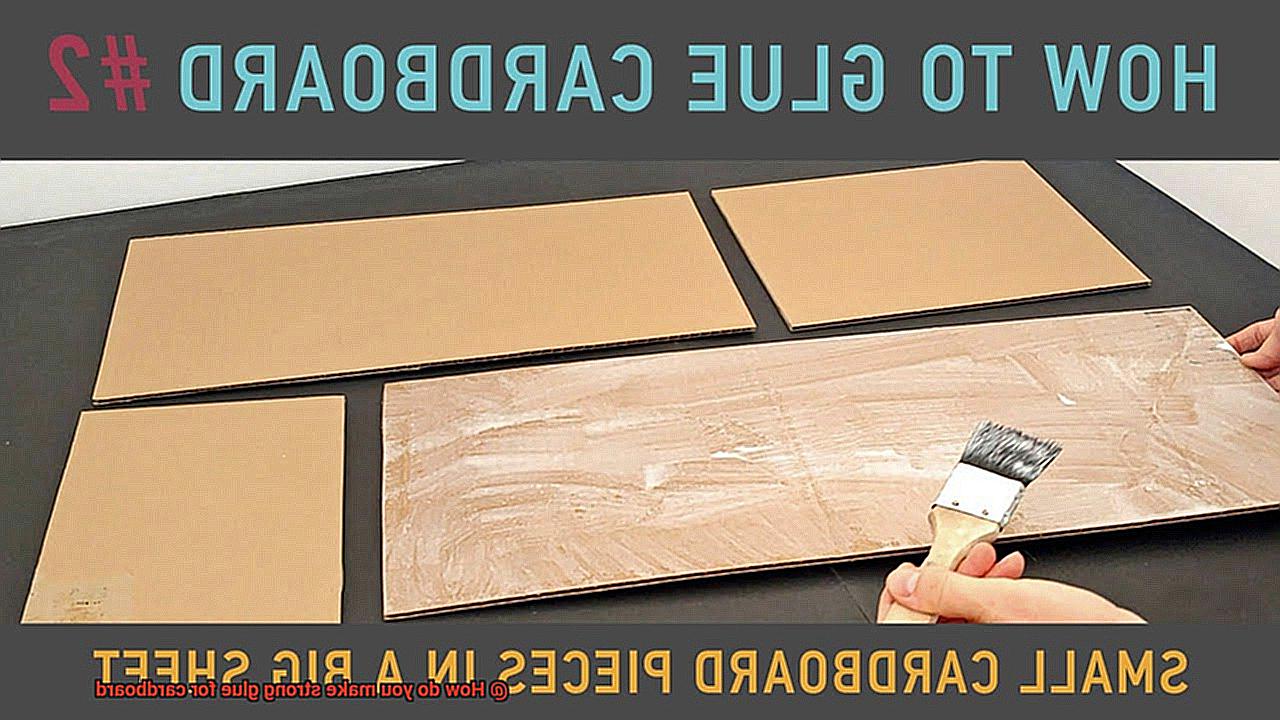
To apply the glue, use a brush or a small spatula to spread a thin layer of the paste onto the cardboard surfaces you wish to bond. Make sure to cover the entire area evenly, paying extra attention to the edges and corners where adhesion is crucial.
Once you have applied the glue, press the cardboard pieces firmly together and hold them in place for a few minutes. Applying some pressure will help ensure a strong bond between the cardboard surfaces. You may also consider using clamps or heavy objects to hold the pieces together while the glue dries.
It’s important to note that while a flour-water paste is an effective adhesive for cardboard, it may not be suitable for applications exposed to moisture or extreme conditions. If you require a stronger and more durable bond, you might want to consider using commercial glues specifically designed for cardboard or other materials.
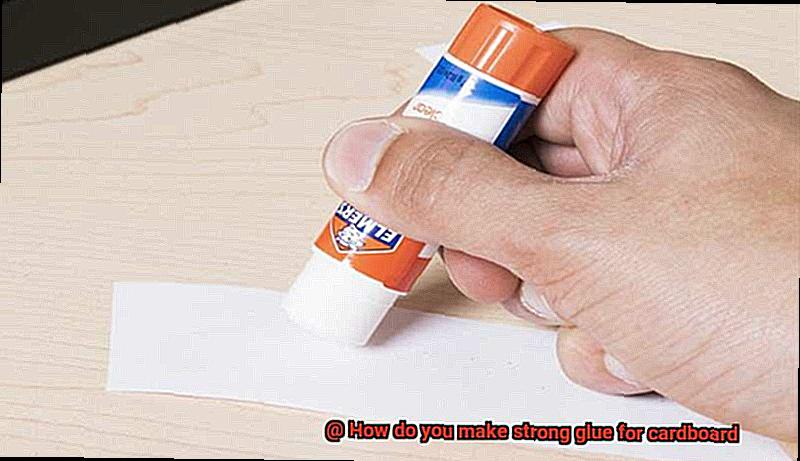
Using White School Glue to Bond Cardboard
Using white school glue to bond cardboard together is a simple and effective method that can be used for various craft projects. Whether you’re creating a DIY storage box, a cardboard sculpture, or a school project, white school glue will provide a strong and durable bond.
To start the process, make sure you have all the necessary materials on hand. You will need white school glue, cardboard pieces, a brush or spatula for application, and clamps or heavy objects to hold the cardboard together while the glue dries.
Before applying the glue, ensure that both surfaces of the cardboard pieces are clean and free from any dust or debris. This will help the glue adhere better to the cardboard. You can use a damp cloth or sponge to clean the surfaces and then allow them to dry completely.
Using a brush or spatula, apply a thin layer of white school glue onto one of the cardboard surfaces. Make sure to cover the entire surface evenly, paying special attention to the edges and corners. It is important to apply the glue evenly to ensure a strong bond.
Firmly press the other piece of cardboard onto the glued surface. Align the edges properly to ensure a strong bond. Apply gentle pressure to help the glue spread evenly between the two pieces. This can be done by using your hands or by using clamps or heavy objects to hold the pieces together while the glue dries.
To ensure a strong bond, use clamps or place heavy objects on top of the bonded cardboard. This will help hold the pieces together while the glue dries. Leave the clamps or heavy objects in place until the glue has completely dried.
The drying time for white school glue can vary depending on factors such as temperature and humidity levels. It is recommended to allow several hours or overnight for the glue to dry completely. This will ensure that it has fully cured and created a strong bond between the cardboard pieces.
Once the glued cardboard is dry, it should be strong and ready for use in your desired project. White school glue is affordable, easily accessible, and safe to use with cardboard due to its water-based and non-toxic nature.
Utilizing Epoxy Adhesive for Cardboard Bonding
Utilizing epoxy adhesive for cardboard bonding offers a multitude of benefits, making it an effective choice for creating strong and durable bonds between cardboard pieces. Here’s why epoxy adhesive is the go-to option for all your cardboard bonding needs:
- High Strength: Epoxy adhesives possess exceptional bonding properties that surpass the strength of the cardboard itself. This is particularly advantageous when constructing sturdy structures or objects like cardboard furniture or display stands. With epoxy adhesive, you can rest assured that your cardboard creations will withstand the test of time.
- Versatility: Epoxy adhesive is compatible with different types of cardboard, including corrugated cardboard, chipboard, and even cardboard tubes. This versatility allows for a wide range of applications, whether it’s joining together different types of cardboard or repairing damaged pieces.
To ensure successful bonding, follow these steps:
- Surface Preparation: Before applying epoxy adhesive, it’s crucial to prepare the surfaces you intend to bond. Ensure they are clean, dry, and free from any grease or dirt. A quick wipe with a clean cloth or mild detergent will do the trick.
- Mixing: Epoxy adhesives typically come in two containers – one containing the resin and the other containing the hardener. Follow the manufacturer’s instructions to achieve the correct resin-to-hardener ratio. This step is vital for the adhesive to work effectively.
- Application: Use a small brush or spatula to apply an even layer of epoxy adhesive onto one of the surfaces you want to bond. Make sure to cover the entire surface area for optimal results.
- Bonding: Press the two surfaces together firmly, ensuring proper contact between the adhesive and the cardboard pieces. Applying pressure, such as using clamps or placing heavy objects on top, enhances bond strength.
- Curing Time: Allow sufficient time for the epoxy adhesive to cure. Typically, this process takes several hours or overnight. It’s crucial to refrain from subjecting the bonded cardboard to stress or load until the epoxy has fully cured.
Specialty Glues for Bonding Cardboard
Specialty glues for bonding cardboard are specifically designed adhesives that provide a strong and durable bond between cardboard surfaces. They are formulated to adhere to the porous nature of cardboard, ensuring that the bond created can withstand handling, transportation, and other challenges.
One popular type of specialty glue for bonding cardboard is hot glue. This adhesive is applied in a molten state using a glue gun, quickly solidifying upon cooling. Hot glue is particularly effective for thick or heavy cardboard, providing exceptional strength and stability.
Another commonly used specialty glue for bonding cardboard is white craft glue. This water-based adhesive dries clear, making it perfect for projects where aesthetics matter. It is easy to apply, non-toxic, and provides a strong bond when used correctly. It is important to allow sufficient drying time before handling the bonded cardboard.
There are also specialty glues specifically formulated for bonding cardboard. These glues offer enhanced adhesive properties and additional benefits such as quick drying times, flexibility, or resistance to moisture.
Polyvinyl acetate (PVA) glue is one such example. PVA glue forms a strong bond with cardboard surfaces and can handle stress effectively. It is available in liquid or solid form, depending on the project’s requirements.
Cyanoacrylate glue, also known as super glue, is another specialty adhesive for bonding cardboard. It bonds quickly and securely, making it ideal for joining edges or surfaces together. However, it should be used sparingly to avoid creating a brittle bond that may not hold up under pressure.
To achieve successful bonding, it is crucial to follow the manufacturer’s instructions and recommendations. Apply the glue evenly and in the appropriate amount, allow sufficient drying or curing time, and ensure proper ventilation in your workspace.
Factors to Consider When Choosing a Specialty Glue
When it comes to choosing a specialty glue for cardboard, there are several key factors that should be considered. These factors will help ensure that you select the right adhesive for your specific needs and achieve the best results for your project.
- Bond Strength: The first factor to consider is the bond strength of the glue. Since cardboard is a porous material, it’s important to choose a glue that specifically mentions its ability to adhere to cardboard or porous surfaces. A strong bond is essential to ensure the durability and longevity of your project.
- Drying Time: The drying time of the glue is another crucial factor to consider. Some glues dry quickly, allowing you to move on to the next step faster. This can be beneficial if you’re working on a time-sensitive project or need to complete multiple tasks in a short period of time. On the other hand, if you require more time for adjustments or alignment, a slower drying glue may be more suitable.
- Flexibility: Cardboard is known for its flexibility, so it’s important to choose a glue that can withstand bending and movement without cracking or peeling off. Look for glues that offer flexibility and can maintain their bond even under stress or movement. This is particularly important if you’re working on projects that involve folding or manipulating the cardboard.
- Water Resistance: Consider whether your cardboard project is likely to come into contact with moisture or water. If so, it’s crucial to choose a glue that provides water resistance. This will ensure that the adhesive remains intact and doesn’t weaken or dissolve when exposed to water.
- Non-Toxicity: Take into account the toxicity of the glue, especially if you’re working on projects involving children or items that may come into contact with food. Choose a non-toxic glue or check the product labeling for its safety properties. This will ensure that your project remains safe and suitable for its intended use.
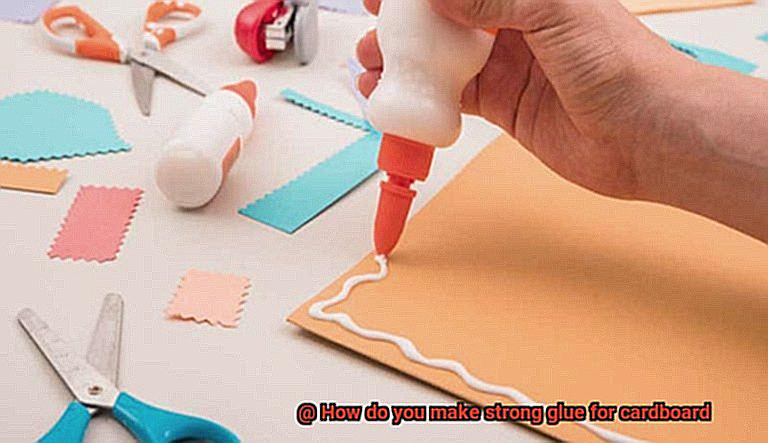
- Applicator Type: Consider the type of applicator that comes with the glue. Some glues come in squeeze bottles, while others have brush applicators or spray nozzles. The type of applicator can affect the ease and precision of applying the glue to the cardboard. Choose an applicator that suits your preferences and the specific requirements of your project.
- Storage and Shelf Life: Check the product instructions for proper storage requirements and expiration dates. Some glues may need to be stored in a cool, dry place, while others may have a limited shelf life once opened. Proper storage and handling will ensure that your glue remains in good condition and performs optimally.
Tips for Applying Different Types of Adhesives
White Glue (PVA):
When using white glue, it is crucial to ensure an even application. Spread a thin layer of white glue on the surface of the cardboard using a brush or roller. Apply enough glue to create a strong bond, but avoid using too much, as it can lead to mess and warping. Allow the glue to dry completely before applying any pressure or stress to the bonded cardboard.
Hot Glue:
Working quickly and carefully is essential when using hot glue to prevent burns from the hot glue gun. Apply hot glue in a zigzag pattern or small dots on one surface, then firmly press the other surface onto it. Be cautious of using too much hot glue, as it can create lumps or uneven surfaces.
Spray Adhesive:
Before applying spray adhesive, ensure that both surfaces are clean and dry. Hold the can 6-8 inches away from the cardboard and apply an even coat in a sweeping motion. Press the surfaces together firmly and allow sufficient drying time according to the manufacturer’s instructions.
Epoxy:
、To use epoxy adhesive effectively, mix the resin and hardener in the correct proportions as specified by the manufacturer. Apply a thin layer of mixed epoxy on both surfaces and press them together firmly. Allow ample time for the epoxy to cure before subjecting the bonded cardboard to any stress or pressure.
General Tips:
- Clean and remove any dust or debris from the surfaces to be bonded.
- Apply the adhesive evenly, covering the entire surface area.
- Press the surfaces together firmly to ensure good contact and remove excess glue.
- Allow sufficient drying or curing time before handling or stressing the bonded cardboard.
- Follow the manufacturer’s instructions for proper application and safety precautions.
p8ipSODdpuE” >
Conclusion
In conclusion, creating a powerful adhesive for cardboard is a breeze and won’t break the bank. You can whip up your own potent glue right at home using everyday items like PVA glue, cornstarch, water, and borax. This DIY concoction is tailor-made for bonding cardboard and will hold it together with an iron grip.
If you’re not into mixing up your own potion, fear not. A simple flour-water paste can be your go-to adhesive. Just combine equal parts of flour and water, and voila. You’ve got yourself a safe and effective homemade glue that works wonders for all sorts of craft projects involving cardboard.
Of course, if you prefer to go the store-bought route, there are plenty of specialty glues designed specifically for cardboard bonding. Hot glue, white craft glue, epoxy adhesive – the options are endless. These commercial glues offer enhanced strength, flexibility, water resistance, and versatility so you can tackle any project with confidence.
Now let’s talk technique. No matter what type of adhesive you choose, there are a few key steps to ensure success. First off, make sure to apply the glue evenly across the surfaces you’re bonding. Next, give those surfaces a good clean before sticking them together – no one likes dirt interfering with their bond. Once everything is in place, press those surfaces together firmly to ensure maximum contact. And don’t forget to give your masterpiece some time to dry or cure properly – patience pays off.
When selecting a specialty glue for your project, keep in mind factors like bond strength, drying time, flexibility, water resistance – you name it. By considering these elements along with non-toxicity, applicator type (squeeze bottle or brush?), storage requirements (does it need refrigeration?), and shelf life (will it last through multiple projects?), you’ll guarantee top-notch results every time.
To sum it all up: whether you’re an avid DIYer or a professional artist, having a reliable glue on hand is crucial when working with cardboard. Armed with the right materials and techniques, you can tackle any project knowing that your bonded cardboard will stand strong against the test of time.