Ever been stuck dealing with dried E6000 glue that just won’t let go? Whether you’re a DIY fanatic, a craft connoisseur, or just someone who occasionally gets a little clumsy with adhesives, we feel your pain.
But fear not. We’re here to rescue you from this sticky situation.
In this blog post, we’ve gathered some battle-tested methods for getting rid of dried E6000 glue once and for all. From everyday household items to powerful solvents, we’ve got the inside scoop on how to make those stubborn glue residues disappear.
So get ready to say goodbye to sticky fingers and hello to pristine surfaces as we unveil the secrets of removing dried E6000 glue like a pro.
What is E6000 Glue?
Contents
- 1 What is E6000 Glue?
- 2 Safety Precautions When Removing Dried E6000 Glue
- 3 Using Acetone to Remove Dried E6000 Glue
- 4 Alternative Methods for Removing Dried E6000 Glue
- 5 Using Heat to Soften and Loosen the Dried Glue
- 6 Using Rubbing Alcohol or Isopropyl Alcohol to Remove the Dried Glue
- 7 Mechanical Means for Removing the Adhesive
- 8 Tips for Safely and Effectively Removing Dried E6000 Glue
- 9 Conclusion
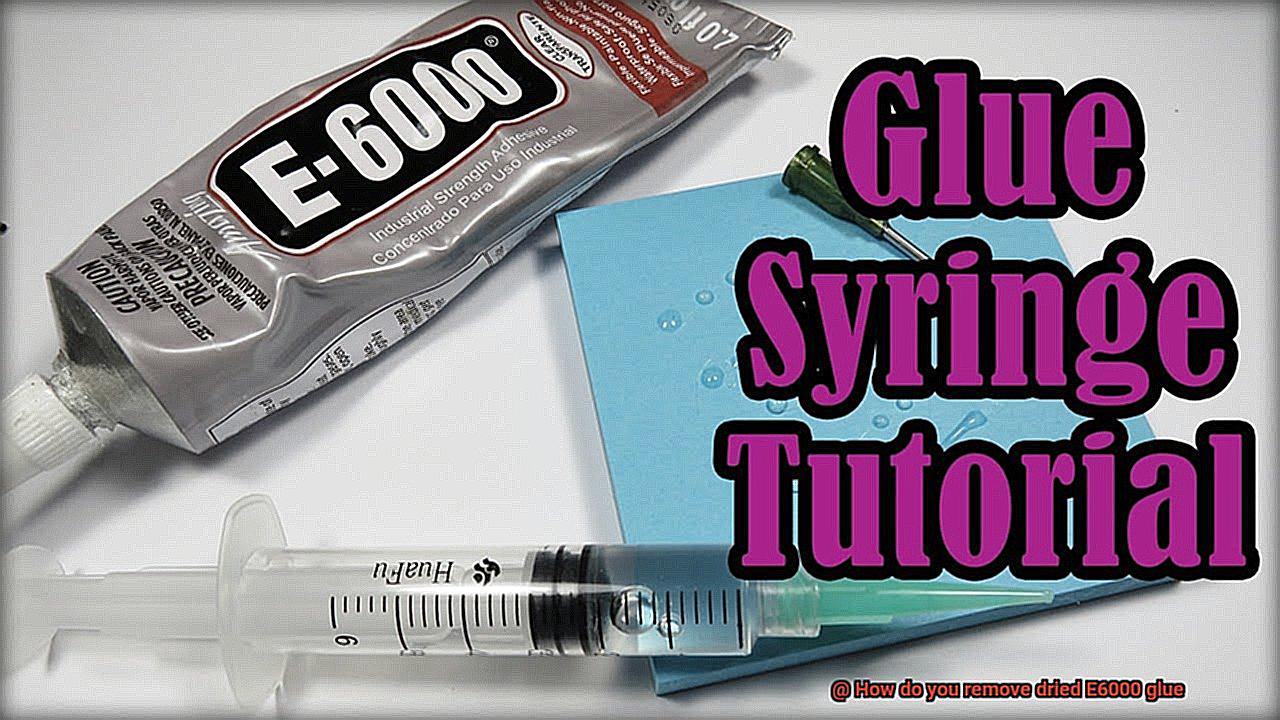
E6000 glue is not your average run-of-the-mill adhesive. It’s a powerful, industrial-strength bond that can withstand the toughest crafting, DIY, and repair challenges. Here are some reasons why E6000 glue is the go-to choice for crafters and DIY enthusiasts:
- Versatility: E6000 glue is a true chameleon when it comes to material bonding. It can effortlessly adhere to metal, wood, glass, fabric, ceramics, and more. This versatility makes it a must-have for any project.
- Endurance: Say goodbye to worries about water damage or extreme temperatures ruining your hard work. E6000 glue is resistant to water, heat, and chemicals, making it suitable for both indoor and outdoor applications. It can brave the elements without losing its grip.
- Precision at Your Fingertips: With its precision applicator tip, E6000 glue allows for easy and precise application. No more messy mishaps or wasted adhesive. The thick consistency of the glue ensures that it stays in place without running or dripping during application.
- Bond That Lasts: When you use E6000 glue, you’re guaranteed a bond that stands the test of time. This adhesive is designed to be permanent and long-lasting. Your projects will stay intact and durable for years to come.
- Easy Removal: While E6000 glue boasts a strong bond, it’s not impossible to remove if necessary. You have options like using solvents such as acetone or applying heat to soften the dried glue before gently scraping it away.
- Widely Available: E6000 glue can be found in craft stores, hardware stores, and online retailers. Its availability makes it easily accessible for crafters and DIY enthusiasts who are eager to get their hands on this powerful adhesive.
Safety Precautions When Removing Dried E6000 Glue
When it comes to removing dried E6000 glue, safety should be your top priority. This adhesive is known for its strong bond and can be challenging to remove, so taking the necessary precautions will help ensure a safe and successful removal process. Here are some important safety precautions to keep in mind:
- Work in a well-ventilated area: E6000 glue contains chemicals that may emit strong fumes. These fumes can be harmful when inhaled, so it is important to work in a well-ventilated area. Open windows or doors to allow fresh air to circulate, or use a fan to improve air circulation. Additionally, wearing a mask can provide further protection.
- Wear protective gloves: Before you start removing the dried glue, put on a pair of protective gloves. This will prevent direct contact with the glue and minimize the risk of skin irritation or allergic reactions. Nitrile gloves are recommended as they provide good chemical resistance.
- Use eye protection: E6000 glue can splatter or drip during the removal process, so it is important to wear safety goggles or glasses to protect your eyes from any accidental exposure. This will help prevent any potential eye injuries.
- Handle tools carefully: If you need to use any tools or implements during the removal process, handle them with care. Avoid sharp edges or points that may cause injuries. It is also a good idea to keep a first aid kit nearby in case of any accidents.
- Keep away from sources of ignition: E6000 glue is highly flammable when wet, so it is crucial to keep away from any sources of ignition such as open flames, sparks, or heat sources. Make sure to avoid smoking or using electrical equipment near the glue.
- Keep children and pets away: To ensure their safety, it is important to keep children and pets away from the work area. E6000 glue can be harmful if ingested or if it comes into contact with their skin or eyes.
- Seek medical attention if needed: If you experience any allergic reactions, skin irritations, or other adverse effects during the removal process, it is advisable to seek medical attention immediately. Do not ignore any symptoms or delay seeking help if necessary.
- Follow manufacturer’s instructions: Lastly, carefully read and follow all instructions provided by the manufacturer regarding safety precautions and usage guidelines when working with E6000 glue. This will help ensure a safe and successful removal process.
Using Acetone to Remove Dried E6000 Glue
Using acetone to remove dried E6000 glue can be a delicate process that requires the right technique and precautions. Here is a step-by-step guide to help you effectively remove the glue:
- Gather the necessary materials: acetone, a clean cloth or cotton ball, a scraper or fingernail, and soap and water for cleanup.
- Begin by applying a small amount of acetone to a clean cloth or cotton ball. It is crucial not to use too much acetone, as it can damage certain surfaces.
- Gently dab the cloth onto the dried E6000 glue, taking care not to rub vigorously. This can spread the glue around and make it more challenging to remove.
- Allow the acetone to sit on the glue for a few minutes. This will soften the glue and make it easier to remove.
- After a few minutes, use a scraper or your fingernail to gently lift off the softened glue. Be cautious not to scratch or damage the surface underneath.
If there is still some residue left, repeat the process of applying acetone and gently scraping until all of the glue has been removed.
Once the glue has been successfully removed, clean the area with soap and water to eliminate any remaining traces of acetone.
It is important to note that acetone may not be suitable for all surfaces. It can cause damage or discoloration on certain materials such as plastics or painted surfaces. To avoid any mishaps, always test a small inconspicuous area before applying acetone to the entire surface.
If you are working with delicate or valuable items, or if you are unsure about using acetone, it may be best to consult a professional or seek alternative methods of glue removal.
Alternative Methods for Removing Dried E6000 Glue
When it comes to removing dried E6000 glue, there are several alternative methods that can be effective. These methods can be useful if the traditional approach of using adhesive removers or acetone does not work or is not readily available. It’s important to note that these alternative methods may vary in terms of their effectiveness and may require some trial and error to find the best solution for your specific situation.
One method that can be effective in removing dried E6000 glue is using heat. Heat can help soften the glue, making it easier to remove. To do this, you can use a hairdryer or a heat gun on a low setting. Point the heat source towards the glue and apply heat for a few minutes. Be careful not to overheat the area as this can damage the surface. Once the glue has softened, you can try scraping it off gently using a plastic scraper or your fingernail.
Another alternative method is using oil or lubricants. Oils such as vegetable oil, baby oil, or even cooking spray can be applied to the dried glue to help loosen its grip. Simply apply a small amount of oil onto the glue and let it sit for a few minutes. Then, you can try scraping off the softened glue using a plastic scraper or your fingernail. Be sure to clean the area thoroughly afterward to remove any residue left by the oil.
Vinegar is another household item that can be effective in removing dried E6000 glue. The acidity of vinegar helps break down the adhesive properties of the glue, making it easier to remove. You can soak a cloth or cotton ball in vinegar and place it over the dried glue. Let it sit for about 15-20 minutes to allow the vinegar to penetrate the glue. Afterward, you can try scraping off the softened glue using a plastic scraper or your fingernail. Remember to clean the area well after removing the glue.
If you’re looking for a natural and non-toxic alternative, you can try using citrus-based cleaners. These cleaners contain natural solvents that can break down the glue. Simply apply a small amount of the citrus-based cleaner onto the dried glue and let it sit for a few minutes. Then, use a plastic scraper or your fingernail to gently scrape off the softened glue. Again, be sure to clean the area thoroughly afterward.
Lastly, if you’re dealing with dried E6000 glue on fabric or clothing, one alternative method is using rubbing alcohol. Moisten a cloth or cotton ball with rubbing alcohol and gently dab the glue. Let it sit for a few minutes to allow the alcohol to penetrate the fabric. Then, using a gentle rubbing motion, you can try to lift off the softened glue. Rinse the fabric well afterward to remove any residue left by the alcohol.
Using Heat to Soften and Loosen the Dried Glue
Using heat is a highly effective method for softening and loosening dried glue, particularly E6000 glue. When glue dries, it forms a strong bond that can be quite challenging to break. However, applying heat can effectively break down the adhesive properties of the glue, making it much easier to remove.
There are two primary methods for using heat to soften dried glue: using a hairdryer or a heat gun. Let’s explore these options in more detail.
- Hairdryer Method: This approach is suitable for smaller areas of dried glue. Begin by directing the hot air from the hairdryer onto the dried glue for a few minutes. Move the hairdryer in a back-and-forth motion to evenly distribute the heat. It’s crucial to maintain a safe distance between the hairdryer and the glue to prevent any damage to surrounding surfaces or materials.
- Heat Gun Method: A heat gun is ideal for stubborn or larger areas of dried glue. It provides a more concentrated and intense heat, which helps accelerate the softening process. However, exercise caution when using a heat gun, as it can quickly reach high temperatures. Start with a low setting and gradually increase if necessary, all while keeping a safe distance from the glue.
As you apply heat to the dried glue, you will notice it starting to soften and become more pliable. At this point, use a plastic scraper or a dull knife to gently scrape away the softened glue. Be careful not to scratch or damage the surface underneath.
If there are any residue or remnants of the glue left behind, repeat the process of applying heat and scraping until all traces of the dried glue are removed. After successfully removing the glue, it is essential to clean the area thoroughly. Use warm soapy water or a suitable adhesive remover to eliminate any remaining residue.
Using Rubbing Alcohol or Isopropyl Alcohol to Remove the Dried Glue
Removing dried glue can be a sticky situation, but fear not. Rubbing alcohol or isopropyl alcohol can come to your rescue. This tried and true method has been proven effective, and with a few simple steps, you can bid farewell to that pesky dried glue and restore your hard surfaces back to their former glory.
To begin, gather your supplies. You’ll need rubbing alcohol or isopropyl alcohol, a clean cloth or cotton swab, and a scraping tool like a plastic scraper or an old credit card. These tools are essential in the battle against dried glue.
Before diving in, it’s crucial to test the rubbing alcohol on a small, inconspicuous area of the surface. This step ensures that the alcohol won’t cause any damage or discoloration, keeping your surfaces safe and sound.
Once you’ve performed your test and received the green light, it’s time to apply the alcohol. Moisten the cloth or cotton swab with rubbing alcohol and gently dab it onto the dried glue. The alcohol works its magic by softening the glue, making it easier to remove.
After allowing the alcohol to sit for a few minutes, it’s time to bring out your trusty scraping tool. Carefully scrape away the softened glue, being mindful not to scratch or damage the surface underneath. This step requires patience and precision.
For stubborn or larger areas of dried glue, you may need to reapply rubbing alcohol and repeat the process until all traces of glue are removed. Persistence pays off when dealing with stubborn glues.
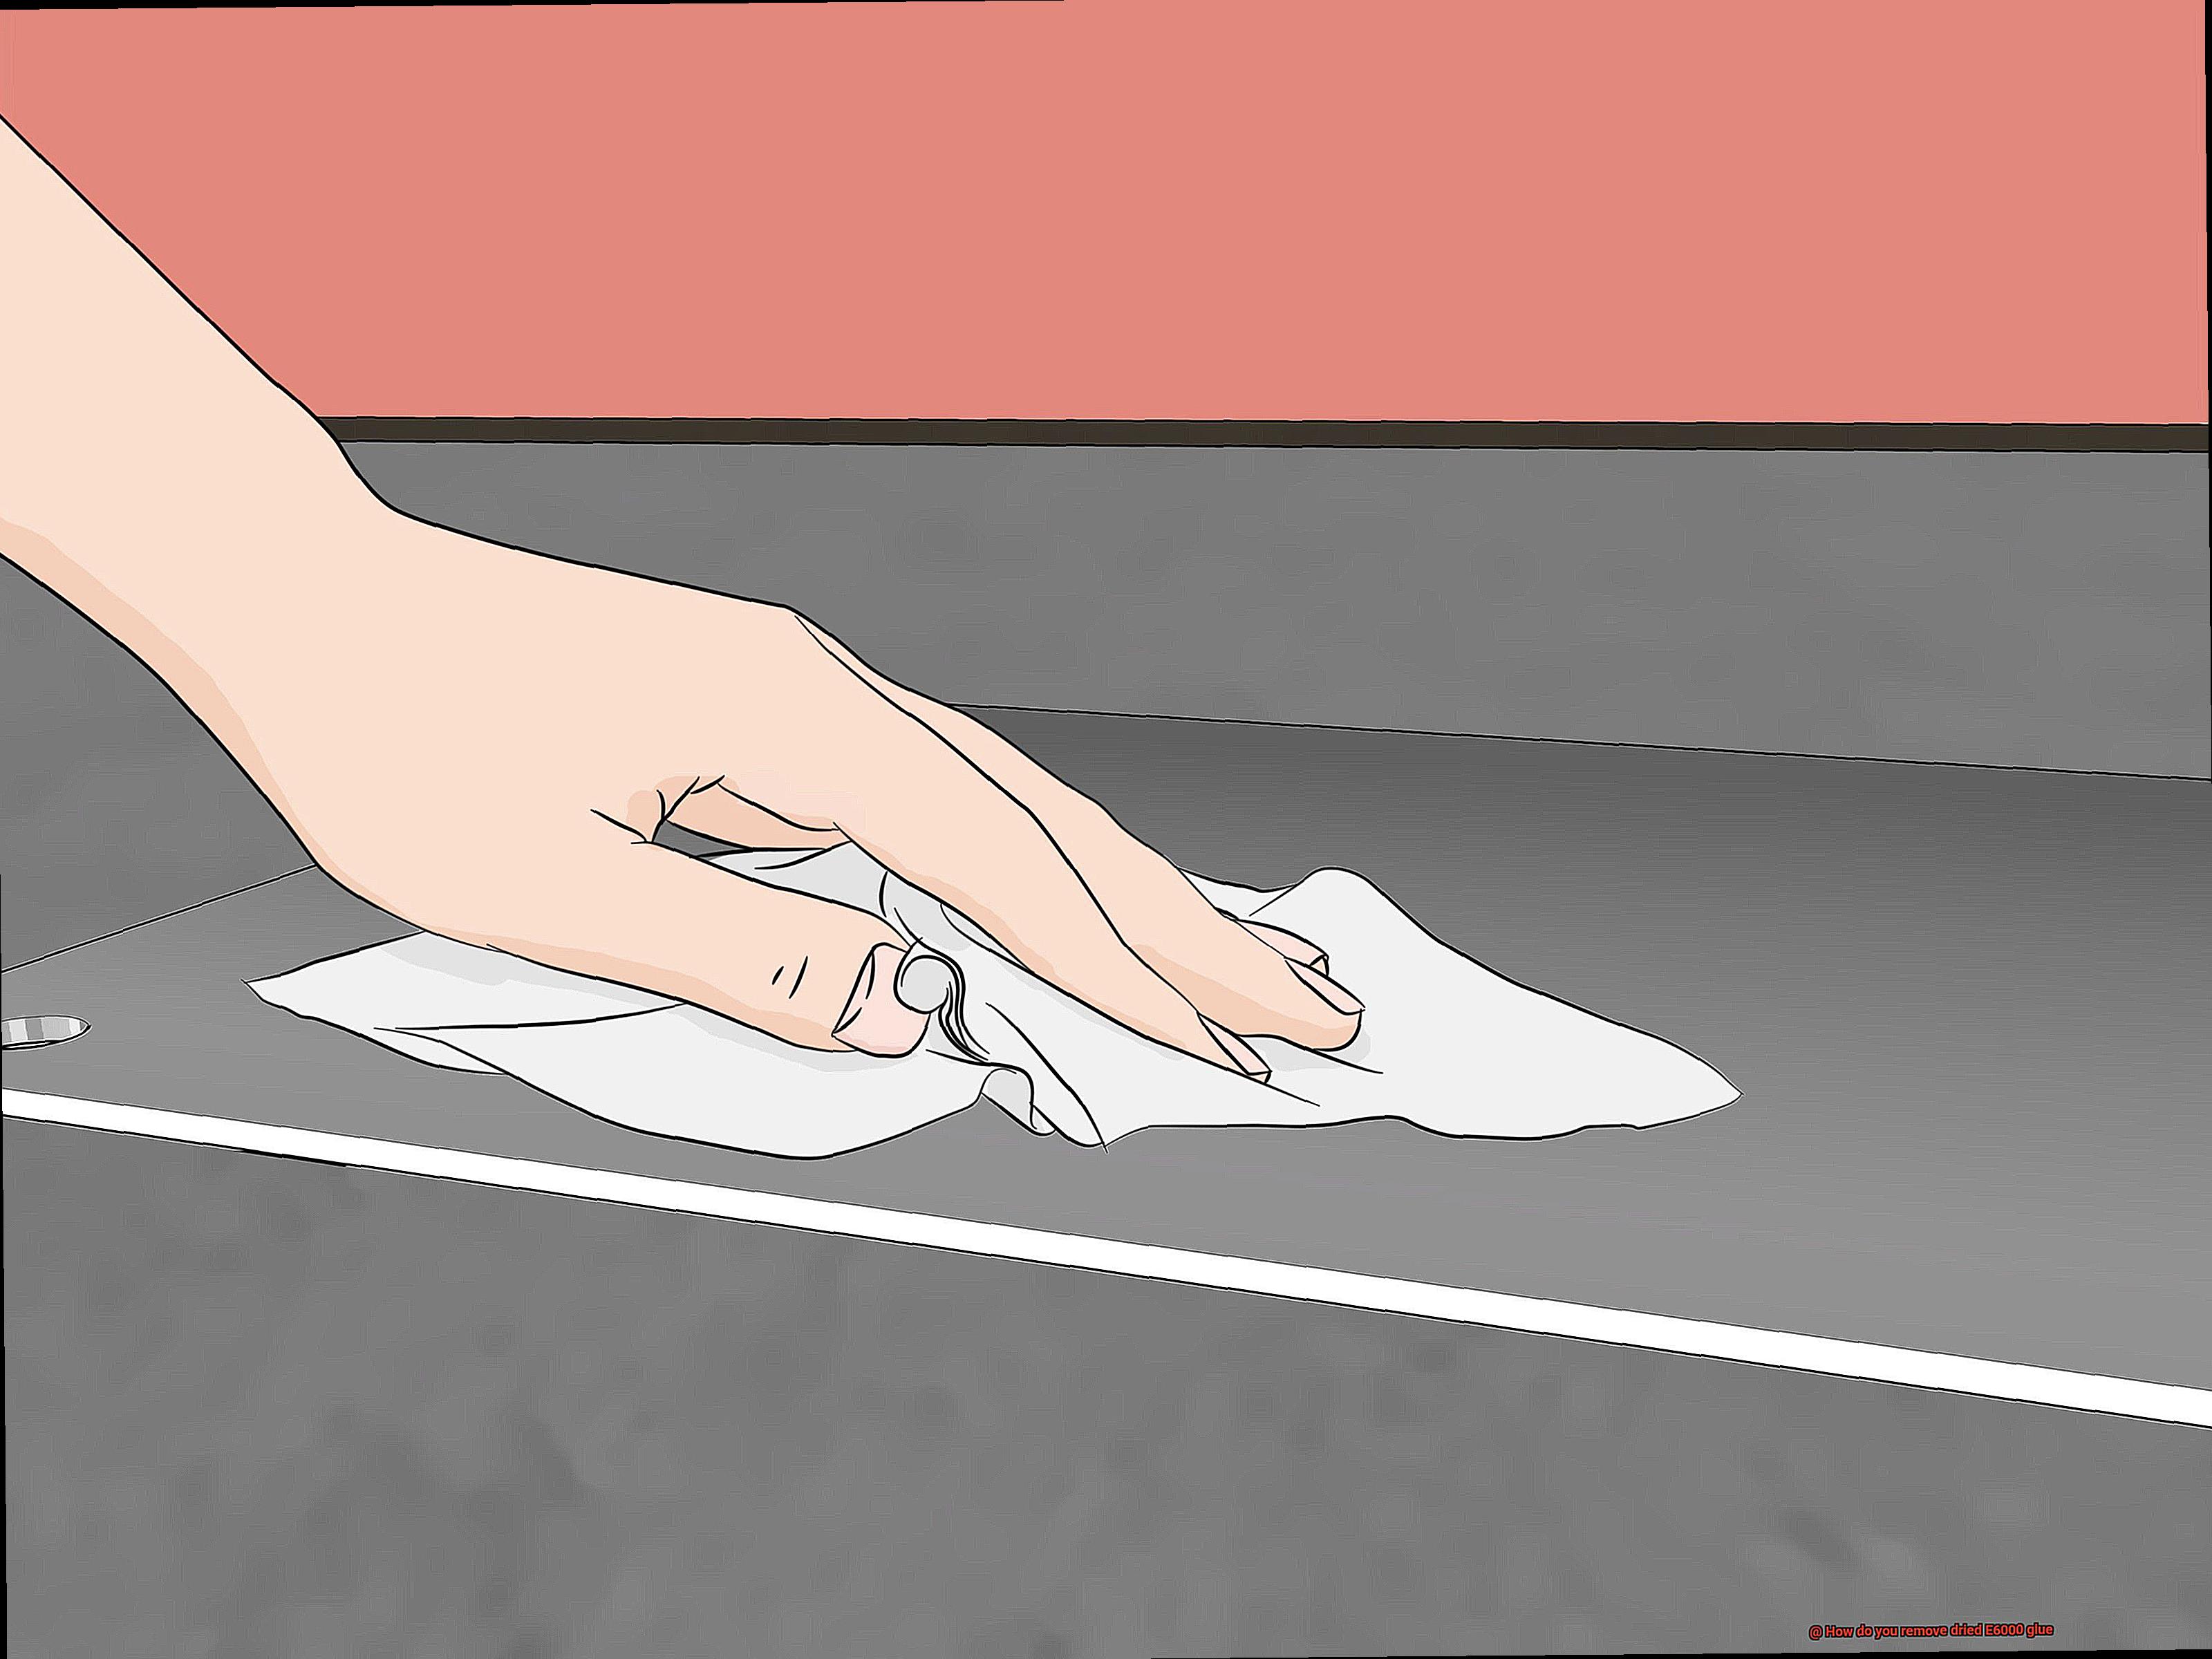
Once you’ve successfully bid adieu to the glue, it’s time for cleanup duty. Use soap and water to clean the area and remove any residue left by the rubbing alcohol. This final step ensures that your surfaces are left clean and shiny.
Remember to wear gloves and work in a well-ventilated area when using rubbing alcohol. Safety should always be a priority, and these precautions will help protect you during the glue-removal process.
Mechanical Means for Removing the Adhesive
Mechanical means for removing adhesive involve using physical force or tools to break the bond between the adhesive and the surface it is stuck to. This method is typically used when other removal techniques are not effective or when dealing with stubborn adhesives. There are several common methods that can be used:
- Scraping: This involves using a plastic scraper, putty knife, or old credit card to gently scrape away the dried glue from the surface. Apply pressure gradually and be cautious to avoid damaging the material underneath.
- Sanding: Using sandpaper or a sanding block, gently sand the dried glue until it starts to come off. This method works well for thick layers of hardened glue, but be careful not to sand too aggressively and damage the surface.
- Heat: Applying heat directly onto the dried glue can soften it, making it easier to remove. A hairdryer or heat gun can be used for this purpose. Move the heat source back and forth while maintaining a safe distance to prevent overheating or scorching.
- Power tools: In stubborn cases, a rotary tool with a sanding or grinding attachment can be used. Exercise caution and follow manufacturer instructions to avoid causing damage.
It’s important to note that these methods may not be suitable for delicate materials like fabrics or soft plastics, which can be damaged or scratched during the removal process. Always test any method on a small inconspicuous area first.
Tips for Safely and Effectively Removing Dried E6000 Glue
Safely and effectively removing dried E6000 glue is essential to prevent damage to surfaces and ensure personal safety. Improper removal methods can cause scratches, discoloration, or even injury. Here are some tips for safely and effectively removing dried E6000 glue:
Describe the properties of E6000 glue:
E6000 glue is a strong adhesive that bonds quickly and permanently. It is known for its versatility and ability to bond a wide range of materials, including wood, metal, glass, fabric, and plastic. However, once it dries, it can be challenging to remove.
Explain the safety precautions for handling E6000 glue:
When working with E6000 glue, it’s important to take safety precautions. Always work in a well-ventilated area or use a respirator mask to avoid inhaling fumes. Wear gloves to protect your hands from direct contact with the glue. Avoid contact with skin and eyes, as E6000 glue can cause irritation or allergic reactions.
Discuss the best techniques for removing it:
To remove dried E6000 glue, start by testing the removal method on a small, inconspicuous area to ensure it doesn’t damage the surface. Use heat to soften the glue by using a hairdryer or heat gun on a low setting. Hold the heat source a few inches away from the glue and move it continuously until the glue becomes soft and pliable. Once softened, gently scrape off the glue using a plastic scraper or your fingernail.
Outline potential solutions for stubborn residue:
If there is residue left after removing the dried E6000 glue, there are several options to consider. Rubbing alcohol is an effective solvent that can dissolve the residue. Apply rubbing alcohol to a cloth or cotton ball and gently rub the affected area until the residue starts to loosen. If rubbing alcohol doesn’t work, acetone can be used as another solvent option.
However, be cautious when using acetone as it is flammable and can be harmful if inhaled or ingested. Apply a small amount of acetone to a clean cloth or cotton ball and dab it onto the residue. Allow the acetone to sit on the residue for a few minutes to soften it, then gently scrape away the softened adhesive using a plastic scraper or your fingernail.
List any additional tips or resources:
- If you prefer not to use solvents, there are commercial adhesive removers available specifically designed for E6000 glue. These removers are formulated to break down the adhesive properties of the glue without damaging surfaces. Follow the instructions provided with the adhesive remover for safe and effective removal.
- Different surfaces may require different removal methods. For fabric, you can try using a hairdryer on low heat to soften the glue before attempting removal. For glass, metal, or plastic surfaces, you can use the above-mentioned methods like rubbing alcohol or acetone. Be sure to follow the precautions specific to each surface to avoid damage.
- After removing the dried E6000 glue, clean the surface thoroughly with soap and water or a mild solvent to ensure there are no leftover residues.
- It’s always a good idea to refer to the manufacturer’s instructions and recommendations for removing E6000 glue.
- If you’re unsure about how to safely remove dried E6000 glue from a specific surface, consult a professional or seek guidance from experts in that field.
siPYDOFVLSI” >
Conclusion
Removing dried E6000 glue can be a tricky task, but fear not.
With the right techniques and a little bit of patience, you can bid farewell to that stubborn adhesive. First and foremost, it’s important to gather the necessary supplies.
You’ll need some acetone or nail polish remover, a clean cloth or sponge, and maybe even a plastic scraper for those tougher spots. Once you have everything ready, start by applying a small amount of acetone onto the affected area.
Gently rub it in using circular motions, allowing the solution to penetrate the glue. Don’t rush this step – give it some time to work its magic.
After a few minutes, grab your cloth or sponge and begin wiping away the softened glue. If there are any remnants left behind, don’t panic.
Simply reapply the acetone and repeat the process until all traces of E6000 are gone. Remember to take breaks if needed – removing dried glue can be quite labor-intensive.
Your surface is now free from that pesky adhesive residue.
Just make sure to clean up any remaining acetone with warm soapy water afterwards.