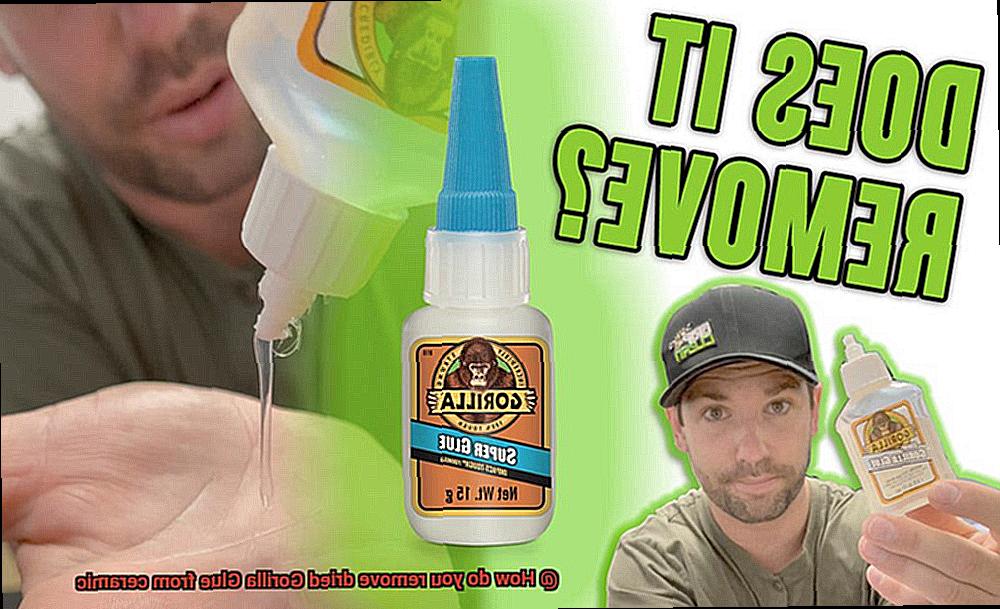
Sticky situations are no fun, especially when they involve dried Gorilla Glue clinging stubbornly to your cherished ceramic surfaces. Whether it’s an accidental spill or a DIY project gone haywire, banishing that pesky adhesive can feel like an uphill battle. But fear not. In this nifty guide, we’ll show you how to safely and effectively remove dried Gorilla Glue from ceramics.
Armed with some everyday household items and a dash of patience, you’ll have your ceramics looking flawless once more. So, let’s roll up our sleeves and bid farewell to those unsightly glue remnants.
Using Heat to Remove Gorilla Glue from Ceramic
Contents
- 1 Using Heat to Remove Gorilla Glue from Ceramic
- 2 Using Acetone or Nail Polish Remover to Dissolve Dried Glue
- 3 Alternative Method: Isopropyl Alcohol for Stubborn Stains
- 4 Prevention Tips: How to Avoid Accidental Spills and Drips on Ceramic Surfaces
- 5 Mechanical Removal Techniques: Scraping Off the Dried Glue with Sharp Objects
- 6 Cleaning the Surface After Successfully Removing the Gorilla Glue
- 7 Pros and Cons of Different Removal Methods
- 8 Safety Precautions When Working with Adhesives and Sharp Tools
- 9 Conclusion
Heat is a powerful tool when it comes to removing Gorilla Glue from ceramic surfaces. It softens the glue, making it easier to scrape off and restore the ceramic’s original appearance. There are a few methods you can use to apply heat, depending on the tools you have available and the size of the surface you need to clean.
One option is to use a hairdryer. By setting it to its highest heat setting and directing the hot air towards the dried glue, you can effectively soften it. However, it’s important to keep the hairdryer at a safe distance from the ceramic surface to avoid any damage or discoloration that excessive heat may cause. As you apply the heat, you’ll notice the glue starting to soften. Once it becomes pliable, gently scrape it off using a plastic scraper or a credit card. It’s crucial to avoid using metal tools as they can scratch or damage the ceramic surface.
If you have access to a heat gun, this provides a more concentrated and intense heat. However, caution should be exercised when using a heat gun as it can generate very high temperatures that may damage the ceramic surface if not used properly. To use a heat gun effectively, constantly move it over the dried glue, ensuring that it does not stay in one spot for too long to prevent overheating. Remember to wear protective gloves and goggles when using a heat gun to protect yourself from potential burns or eye injuries.
After applying heat and scraping off as much of the Gorilla Glue as possible, you may still have some residue remaining. In that case, repeat the process of applying heat and scraping until all traces of glue are removed. Once the glue is completely gone, clean the ceramic surface with warm soapy water to remove any remaining residue and restore its original appearance.
Using Acetone or Nail Polish Remover to Dissolve Dried Glue
Fret not. This comprehensive guide will unveil the incredible powers of acetone and nail polish remover in dissolving even the most stubborn adhesive residues. From precautionary measures to application techniques, we will equip you with the knowledge to restore your ceramics to their pristine glory. Let’s dive right in.
Precautions and Testing:
Before embarking on your glue-removal journey, take necessary precautions. Both acetone and nail polish remover are highly flammable substances, so ensure you work in a well-ventilated area, far away from open flames or sparks. Don’t forget to protect your skin by wearing gloves.
To avoid any potential damage or discoloration, always perform a patch test on a small, inconspicuous area of the ceramic surface. Apply a small amount of the solvent and carefully observe for adverse reactions before proceeding.
Application Process:
Soaking Method:
- Immerse a cotton ball or cloth in acetone or nail polish remover.
- Apply it directly to the dried glue, ensuring complete coverage.
- Allow the solvent to work its magic by letting it sit on the glue for several minutes, giving it ample time to penetrate and dissolve the adhesive.
b. Gently Rubbing:
- After the soaking period, gently rub the area with a soft cloth or sponge, using circular motions.
- This gentle rubbing action effectively loosens and removes the dissolved glue.
- For stubborn or larger amounts of dried glue, repeat the process multiple times until all traces are obliterated.
Rinse and Cleanse:
Once you’ve triumphantly banished the dried glue from your ceramic surface, it’s time for the final steps of rinsing and cleansing.
- Thoroughly rinse the ceramic surface with water to eliminate any residue from the solvent.
- Employ warm soapy water and a sponge to give the surface a thorough cleanse, ensuring all remnants of glue are eradicated.
- Dry the surface with a clean cloth or allow it to air dry.
Alternative Method: Isopropyl Alcohol for Stubborn Stains
Stubborn stains can be a real headache, especially when they seem impossible to remove. But fear not, because there’s an alternative method that can tackle even the toughest stains: isopropyl alcohol. This powerful solvent, also known as rubbing alcohol, has the ability to break down dried glue and make it disappear like magic. No need for expensive cleaners or harsh chemicals – all you need is some trusty isopropyl alcohol.
To effectively use isopropyl alcohol for stubborn stains, follow these steps:
Gather the necessary materials: isopropyl alcohol (preferably 90% concentration), a soft cloth or sponge, and a plastic scraper or old credit card.
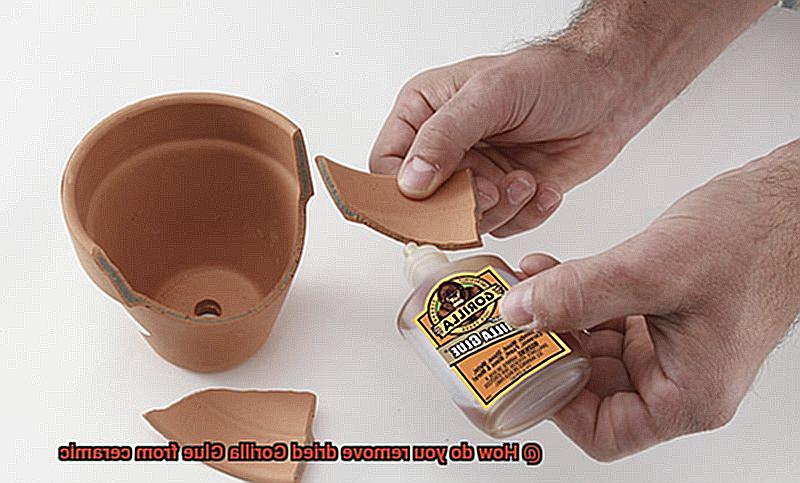
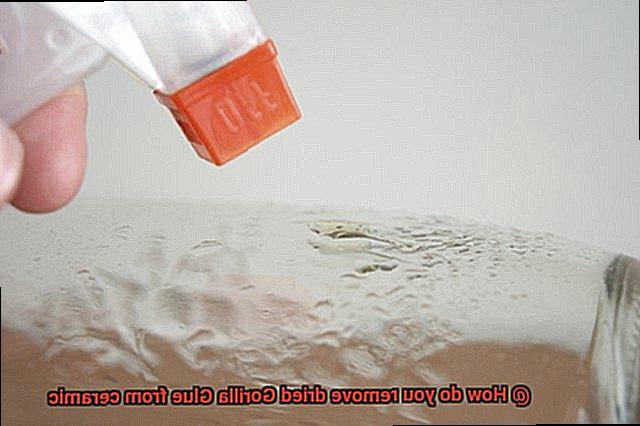
Start by saturating the affected area with isopropyl alcohol. You can pour a small amount directly onto the stain or soak a cloth or sponge and apply it to the surface.
Allow the isopropyl alcohol to work its magic and sit on the stain for a few minutes. This will allow it to penetrate and soften the stubborn residue.
Once the stain has been softened, take your plastic scraper or old credit card and gently scrape away the residue. Be careful not to scratch or damage the surface.
If there are still remnants of the stain left after scraping, simply reapply isopropyl alcohol and repeat the scraping process until the stain is completely removed.
After successfully removing the stain, wipe down the surface with a clean cloth or sponge dampened with warm water to remove any residue from the isopropyl alcohol.
Finally, make sure to dry the surface thoroughly using a clean towel or allow it to air dry before using or displaying it again.
Prevention Tips: How to Avoid Accidental Spills and Drips on Ceramic Surfaces
Accidental spills and drips on ceramic surfaces can be a hassle to clean up, especially if they involve strong adhesives like Gorilla Glue. Prevention is key when it comes to avoiding these mishaps. By following a few simple tips, you can minimize the chances of spills and drips occurring on your ceramic surfaces.
Maintain a Clean and Clutter-Free Workspace
Always work in a clean and clutter-free environment. Clearing away any unnecessary items from the workspace will reduce the risk of accidentally knocking over containers or causing spills. Keep your work area organized and free from any obstacles that could lead to accidents.
Use Proper Containers and Tools
When working with liquids or substances that have the potential to spill, it’s important to use proper containers and tools. Opt for spill-resistant bottles or squeeze tubes that have tight-fitting caps or lids to prevent leakage. Avoid using open containers that can easily tip over and cause spills.
Handle Containers with Care
Properly handling containers is crucial in preventing spills and drips. Make sure lids are properly sealed after each use and avoid excessive shaking or rough handling that could cause spills or drips. When working with larger or heavy items, use clamps or supports to secure them in place and prevent accidental tipping.
Work on a Stable Surface
Choose a stable and flat surface to work on. Uneven or unstable work areas can increase the likelihood of accidents, so ensure you have a solid foundation for your ceramic items. If necessary, use padding or non-slip mats to stabilize the surface and provide additional grip.
Act Quickly in Case of Spills
In case of accidental spills or drips, act quickly to minimize damage. The longer a substance sits on a ceramic surface, the more difficult it can be to remove. Keep a clean cloth or paper towels handy to immediately wipe away any spills before they have a chance to dry. Use gentle cleaning solutions specifically designed for ceramic materials to avoid damage.
Mechanical Removal Techniques: Scraping Off the Dried Glue with Sharp Objects
Mechanical removal techniques offer a tried-and-true method for eradicating dried glue from ceramic surfaces, utilizing the precision and finesse of sharp objects. This technique demands careful consideration and a deft touch to ensure the ceramic remains unscathed. Here, we present an in-depth exploration of the step-by-step process for mechanically removing dried Gorilla Glue from ceramic using sharp objects, providing you with the knowledge and expertise needed to tackle this task with confidence.
The journey begins with a thorough assessment of the ceramic surface. It is imperative to determine if it possesses the strength required to withstand scraping without succumbing to damage. Delicate or fragile ceramics may necessitate alternative removal methods, avoiding harm while still achieving the desired result.
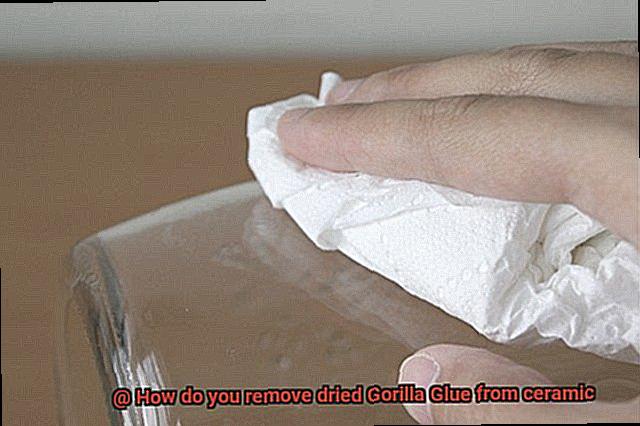
Next, the selection of the right tool is paramount. Plastic scrapers or putty knives are commonly employed in this endeavor due to their flat and smooth edges. These attributes allow for gentle glue removal, ensuring no unsightly scratches or harm befall the ceramic surface. Alternatively, a razor blade can be utilized; however, extra caution is advised to avoid any untoward scratching or damage.
With tool in hand, moderate pressure becomes your ally. Begin by applying this pressure with the plastic scraper or putty knife, gradually increasing as needed while expertly scraping away the dried glue. Beware of excessive force, as it may lead to gouging or chipping of the ceramic surface, derailing your efforts.
If opting for a razor blade, a delicate dance unfolds. Hold it at an angle and scrape in a controlled manner, exhibiting finesse in every move. The blade must remain parallel to the surface, carefully avoiding an excess of pressure that could result in accidents or unsightly blemishes on the ceramic canvas.
For those facing particularly stubborn Glue residue, softening becomes a valuable strategy. Introduce heat into your arsenal, employing a hairdryer or heat gun to warm the dried Gorilla Glue for a few fleeting seconds. This heat-induced pliability renders the glue more amenable to scraping, facilitating its removal with greater ease.
Of course, protection is paramount. Guard your hands with protective gloves while wielding sharp objects in the pursuit of extracting dried glue. This simple precaution can prevent potential injuries and ensure that your project remains on track without any unnecessary setbacks.
Upon successful eradication of the dried Gorilla Glue, your mission is not yet complete. Gently scrape away any lingering residue that clings to the ceramic surface, employing the same techniques employed earlier to achieve pristine results.
Finally, a thorough cleansing awaits. With all glue remnants vanquished, immerse yourself in the act of cleaning. Employ warm soapy water to diligently remove any residual traces or adhesive particles from the ceramic surface, leaving it gleaming and free from the vestiges of its gluey past.
Cleaning the Surface After Successfully Removing the Gorilla Glue
Cleaning the Surface After Successfully Removing the Gorilla Glue
Congratulations on successfully removing the dried Gorilla Glue from your ceramic surface. Now it’s time to clean the area thoroughly to ensure there is no residue left behind. Here’s a comprehensive guide on how to clean a ceramic surface after removing Gorilla Glue:
- Prepare warm soapy water: Begin by mixing a few drops of dish soap with warm water in a bowl or bucket. This will serve as your primary cleaning solution.
- Dip cloth or sponge: Take a soft cloth or sponge and dip it into the soapy water. Ensure that the cloth or sponge is not too abrasive to avoid scratching the delicate ceramic surface.
- Gently scrub the area: Start gently scrubbing the affected area with the wet cloth or sponge. Cover the entire surface to remove any remaining glue particles, leaving no trace behind. Take care not to apply excessive force, especially if the ceramic is fragile.
- Rinse frequently: Rinse the cloth or sponge frequently in clean water to prevent spreading the glue residue around. This step is crucial for maintaining an effective cleaning process.
- Remove sticky residue: If there is a sticky film left on the ceramic, don’t fret. You can use isopropyl alcohol or acetone as solvents to tackle this stubborn residue. Apply a small amount of either solvent to a clean cloth and gently rub it over the sticky residue. Avoid scrubbing too hard to prevent damaging the ceramic surface.
- Wipe until clean: Continue wiping with the solvent until all traces of the sticky residue are gone. Rinse the area with clean water afterward and dry it thoroughly.
- Use plastic scraper or credit card: In cases where there are stubborn traces of Gorilla Glue remaining, you can employ a plastic scraper or a credit card to delicately scrape them off. Be mindful not to scratch the ceramic surface while doing this.
- Repeat cleaning process if necessary: After scraping off any remaining glue, it is prudent to repeat the cleaning process with warm soapy water or solvent, if necessary. This ensures that all residue is completely removed.
- Dry the surface: Once you have thoroughly cleaned the ceramic surface, take the time to dry it completely before using or applying any other products. Utilize a clean, dry cloth or allow it to air dry naturally.
Pros and Cons of Different Removal Methods
When it comes to removing dried Gorilla Glue from ceramic surfaces, there are various methods to consider. Each method has its own pros and cons, which are important to weigh before deciding which approach to take.
Acetone-based solvents:
- Pros: Acetone-based solvents, like nail polish remover or pure acetone, are highly effective at breaking down the glue bonds. They are readily available and commonly recommended for this purpose.
- Cons: However, acetone can potentially damage the ceramic surface if not used carefully. It may cause discoloration or weaken any protective coating on the ceramic.
Heat application:
- Pros: Applying heat to the dried Gorilla Glue can soften it, making it easier to scrape off from the ceramic surface. This method is particularly useful for large or thick glue deposits.
- Cons: But excessive heat can cause thermal stress, leading to cracks or damage to the ceramic. Care must be taken to use a controlled amount of heat and avoid direct contact with open flames or high-temperature sources.
Mechanical scraping:
- Pros: Using a sharp tool or scraper allows for precise control over the removal process. It is an effective method for removing dried Gorilla Glue from ceramic surfaces.
- Cons: However, there is a risk of scratching or gouging the ceramic surface if excessive force is applied during scraping. Care must be taken to avoid damaging the underlying finish.
Soaking in water:
- Pros: Submerging the affected area in warm water can help soften and loosen dried Gorilla Glue without causing damage to the ceramic surface. It is a gentle method that does not require harsh chemicals.
- Cons: On the downside, this method may take time, especially for large or stubborn glue deposits. Multiple soaking sessions may be necessary, requiring patience.
Commercial adhesive removers:
- Pros: There are various adhesive removers available in the market specifically designed to dissolve and remove dried glue from different surfaces, including ceramics. These products often come with detailed instructions on how to use them effectively.
- Cons: However, some commercial adhesive removers may contain harsh chemicals that can potentially harm the ceramic surface or emit strong fumes. It is important to carefully read and follow the product instructions and consider safety precautions.
Before attempting any removal method, it is crucial to test it on a small, inconspicuous area of the ceramic surface first to ensure compatibility and avoid potential damage. Additionally, proper ventilation and protective measures, such as wearing gloves and eye protection, should be taken when working with solvents or adhesive removers.
Safety Precautions When Working with Adhesives and Sharp Tools
Working with adhesives and sharp tools requires adherence to specific safety precautions to prevent accidents or injuries. Here are some essential guidelines to prioritize safety:
Adhesive Safety:
- Read and follow the adhesive manufacturer’s instructions: Each adhesive may have unique safety guidelines that must be adhered to.
- Wear appropriate personal protective equipment (PPE): Always use gloves and safety glasses to protect your skin and eyes from potential contact with the adhesive.
- Work in a well-ventilated area: Ensure proper ventilation to avoid inhaling fumes or vapors emitted by the adhesive. Use a respiratory mask if necessary.
- Store adhesives properly: Keep them away from open flames or heat sources, as they can be flammable. Store in a cool, dry place and seal them correctly when not in use.
- Use adhesives in a controlled manner: Avoid excessive application to prevent messy workspaces and accidental contact.
Sharp Tool Safety:
- Handle sharp tools with care: Exercise caution when using knives or scissors to avoid cuts or punctures. Keep them out of reach of children and untrained individuals.
- Keep the work area clean and organized: Clutter increases the risk of accidents. Properly store tools when not in use and dispose of waste materials safely.
- Seek medical attention if needed: If you experience skin irritation or adverse reactions while working with adhesives, stop immediately and seek medical assistance if necessary.
- Exercise caution and common sense: Stay aware of your surroundings, take breaks if feeling fatigued or distracted.
D076rtJc8Iw” >
Conclusion
Removing dried Gorilla Glue from ceramic can be a pesky problem. But fear not, for there are effective solutions to tackle this stubborn adhesive. Here’s how you can bid farewell to that unwanted glue on your precious ceramic surfaces.
Firstly, gather the necessary tools: acetone, a plastic scraper or credit card, a soft cloth, and some patience. Acetone is a powerful solvent that can dissolve Gorilla Glue without damaging the ceramic surface.
Begin by applying a generous amount of acetone onto the dried glue. Let it sit for a few minutes to allow the solvent to penetrate and loosen the adhesive bond. As you wait, marvel at the power of chemistry silently working its magic.
Once the acetone has had its time to shine, take your plastic scraper or credit card and gently scrape away the softened glue. Be careful not to scratch or damage the ceramic surface in the process – we want our ceramics to retain their pristine beauty.
If there are any stubborn remnants of Gorilla Glue left behind, don’t fret. Dampen your soft cloth with more acetone and gently rub the affected area in circular motions. This extra step will help lift off any remaining residue and restore your ceramic’s former glory.
Remember, patience is key during this removal process. It may take several attempts and some elbow grease before all traces of Gorilla Glue disappear completely. But trust me, it’ll be worth it when you finally see that smooth and glue-free ceramic surface staring back at you.
In conclusion, removing dried Gorilla Glue from ceramic requires a combination of acetone, gentle scraping, and perseverance. With these tips in mind, you’ll have no trouble bidding farewell to that unwanted adhesive and restoring your ceramic surfaces to their original splendor.

