Got some pesky dried tile adhesive on your floors or walls? Don’t worry, we’ve got you covered. Whether you’re a DIY enthusiast or a professional contractor, removing this stubborn glue can be a daunting task. But fear not, with the right methods and tools, it’s possible to remove dried tile adhesive without damaging your surface.
Maybe you just finished a tiling project and noticed some leftover residue. Or perhaps you’re renovating a space and need to remove old adhesive before installing new tiles. Whatever the reason may be, it’s crucial to know the most effective ways to tackle this problem.
Luckily, there are several approaches you can take depending on the type of adhesive and surface you’re dealing with. From using chemical solvents to scraping with a putty knife, each method has its own unique benefits and drawbacks. Some techniques may require more time or effort than others, but choosing the right one can save you from headaches down the road.
In this blog post, we’ll dive into the nitty-gritty of how to remove dried tile adhesive like a pro. We’ll cover everything from identifying the type of adhesive to selecting the best tools and materials for the job at hand. So whether you’re dealing with strong ceramic tile adhesive or stubborn vinyl tile residue, we’ve got your back. Keep reading to learn how to remove dried tile adhesive with ease.
What is Dried Tile Adhesive?
Contents
- 1 What is Dried Tile Adhesive?
- 2 Types of Dried Tile Adhesive
- 3 Tools Needed to Remove Dried Tile Adhesive
- 4 Removing Water-Based Adhesives
- 5 Removing Solvent-Based Adhesives
- 6 Using a Heat Gun to Soften the Adhesive
- 7 Combining Techniques for Stubborn Areas
- 8 Safety Precautions When Removing Dried Tile Adhesive
- 9 Conclusion
Dried tile adhesive, also known as thinset, is a cement-based bonding material that serves as the glue between tiles and surfaces. This powerful adhesive is a go-to for home renovation and construction projects due to its strength and durability. Once the adhesive dries, it forms a tough cement-like substance that creates a long-lasting bond between the tile and surface.
However, removing dried tile adhesive can pose a challenge. It requires patience, persistence, and the right tools and techniques to avoid causing damage to the underlying material. But fear not. With proper preparation and know-how, you can remove dried tile adhesive with ease.
Before tackling the task of removing the adhesive, it’s essential to choose the right type of tile adhesive for your project. Different adhesives have unique properties that cater to specific needs. For example, some adhesives are water-resistant while others are designed to work with specific tiles or surfaces.
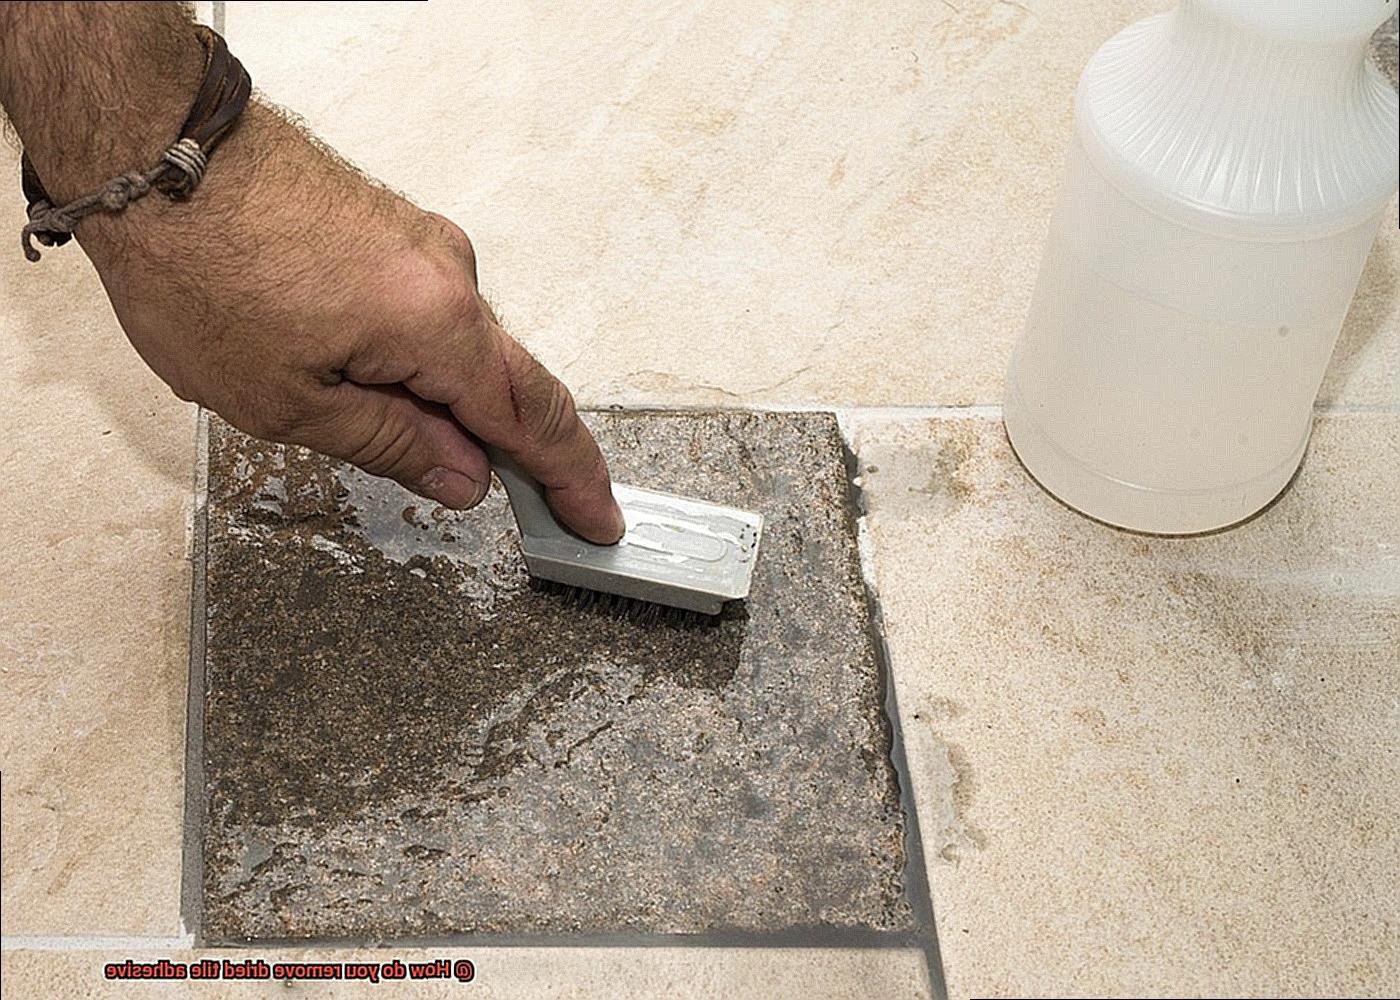
When it comes to removing dried tile adhesive, there are different methods depending on the type of adhesive used. If it’s a water-based adhesive, warm water and a scrub brush can gently remove it. However, if it’s solvent-based, mineral spirits or acetone can be used effectively. When using solvents, wear gloves and work in a well-ventilated area.
For stubborn or hard-to-reach areas, a heat gun or hairdryer can soften the adhesive before scraping it off with a putty knife or scraper. Take your time and work carefully to avoid damaging the underlying material.
Types of Dried Tile Adhesive
Removing dried tile adhesive is no small feat, especially when you’re dealing with different types of adhesives, each with their unique composition that requires specific removal techniques. Knowing the type of tile adhesive you’re dealing with is essential in determining the most effective removal method. Here are some tips on how to remove different types of dried tile adhesive:
Cement-based adhesive:
Cement-based adhesive is the most commonly used type of tile adhesive, typically made of a mixture of Portland cement, sand, and water. To remove cement-based adhesive, you’ll need to use a combination of mechanical and chemical methods. Start by scraping away as much of the adhesive as possible using a scraper or chisel. Then, use a chemical adhesive remover to soften the remaining residue. Be sure to follow the manufacturer’s instructions carefully and wear protective gear like gloves and goggles.
Epoxy-based adhesive:
Epoxy-based adhesive is composed of two parts – resin and hardener – that create a strong bond when mixed together. It’s often used for bonding tiles in high-traffic areas like commercial kitchens or hospitals. Removing epoxy-based adhesive requires the use of specialized solvents or chemical strippers designed explicitly for epoxy. These removers are often harsh and contain chemicals like methylene chloride, so it’s crucial to follow safety precautions like wearing protective gear and working in a well-ventilated area.
Organic mastic:
Organic mastic is an adhesive made from natural materials such as cellulose, starch, or vegetable oil. It’s often the easiest type of adhesive to remove as it can be softened with warm water or steam before being scraped away with a putty knife or scraper.
Solvent-based adhesive:
Solvent-based adhesives are often used in commercial applications and can be removed using a solvent such as mineral spirits or acetone. Apply the solvent to the adhesive using a cloth or brush and allow it to sit for several minutes. Then, use a scraper or putty knife to remove the adhesive from the surface.
Heat gun:
For stubborn or hard-to-reach areas, a heat gun can be used to soften the adhesive. Apply heat to the area using a heat gun or hairdryer until the adhesive becomes soft and pliable. Then, use a scraper or putty knife to remove the softened adhesive.
Professional help:
If you suspect that your tile adhesive may contain hazardous chemicals like asbestos or lead, it’s best to seek professional help for its removal.
Tools Needed to Remove Dried Tile Adhesive
Removing dried tile adhesive can be a daunting task, but with the right tools and safety precautions in place, it can be manageable. Here are some of the tools you’ll need to effectively remove dried tile adhesive:
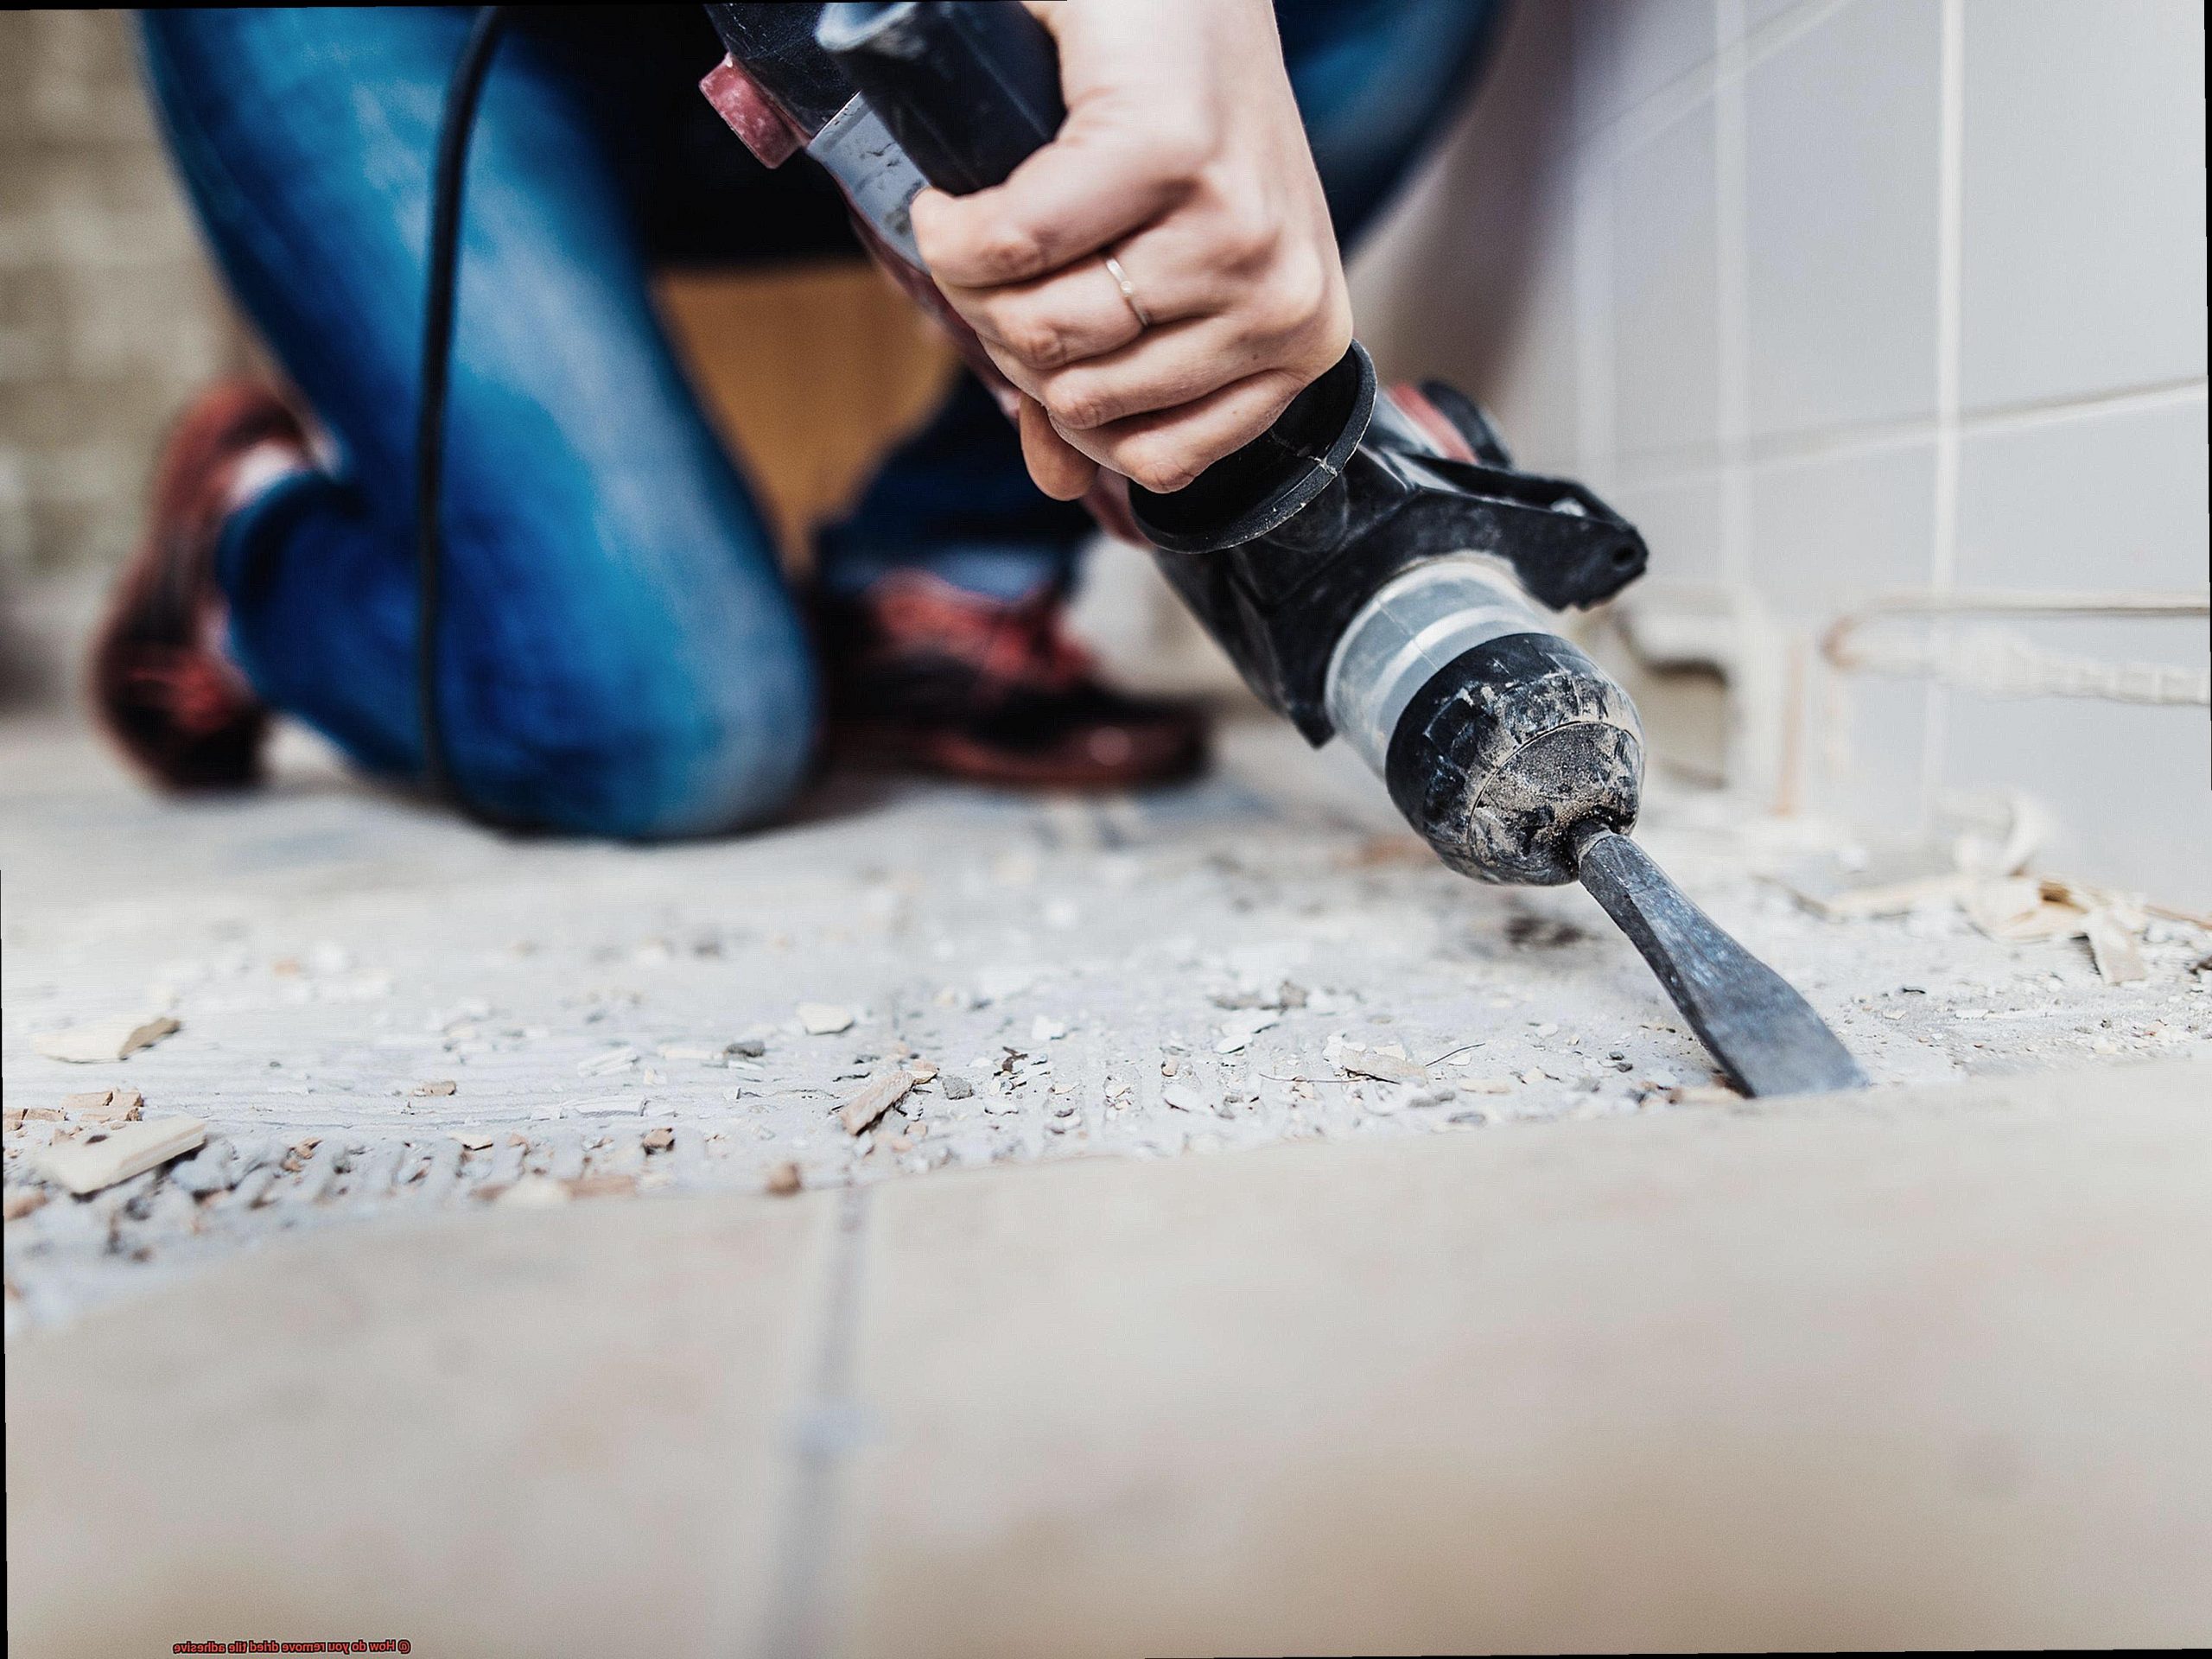
First off, a hammer and chisel. This traditional method may be time-consuming and hard on your hands, but it still remains a go-to for smaller areas of dried adhesive.
A scraper is another option that can come in handy. Whether you choose a handheld scraper, floor scraper, or electric scraper, these tools are great for removing smaller patches of adhesive.
If you’re dealing with a larger area of dried adhesive, a heat gun may be your best friend. Softening the adhesive with heat can make it easier to scrape away. Just be careful not to overheat the area or damage surrounding materials.
Solvents can also be effective in dissolving dried tile adhesive. Mineral spirits, acetone, and denatured alcohol are all commonly used options. However, be aware that solvents can be harmful if not used properly and should always be used in a well-ventilated area.
Finally, for particularly large areas of adhesive removal, a grinder may be necessary. This tool can quickly and easily remove a large amount of adhesive but can also produce a lot of dust and mess.
It’s important to remember that when using any of these tools, you should wear protective gear such as gloves, goggles, and a mask to protect yourself from dust and debris. Additionally, always follow the manufacturer’s instructions when using any type of solvent or chemical.
Removing Water-Based Adhesives
There are several effective methods that can help you get rid of it without breaking a sweat. As an expert in removing water-based adhesives, I’m here to share with you some of the best tips and tricks to make this task easier for you.
The first and most popular method is using hot water and a scraper. Heat up a pot of water until it’s nearly boiling, then pour it over the adhesive. After letting it sit for a few minutes to soften up, use a scraper to remove as much of the adhesive as possible. Repeat this process until all the adhesive has been removed. This method is perfect for larger areas with dried-up adhesives.
Another great option is to use vinegar. Mix equal parts of white vinegar and warm water in a spray bottle and apply the solution onto the adhesive. Wait for several minutes before using a scraper to remove the softened adhesive. This method may need to be repeated several times to completely remove the adhesive, but it is very effective for smaller areas.
If you’re dealing with small patches of adhesive, rubbing alcohol may be your best bet. Apply a small amount of rubbing alcohol onto the dried adhesive and allow it to sit for a few minutes. Then, use a scraper or soft-bristled brush to remove the softened adhesive. This method is particularly effective for removing small patches of adhesive.
Remember, when working with any type of adhesive remover, always wear protective gear such as gloves and goggles, and follow any safety instructions provided on the product label.
Removing Solvent-Based Adhesives
First and foremost, ensure you have all the necessary materials at hand. You’ll need a scraper or putty knife, a suitable solvent (such as mineral spirits or acetone), and safety equipment like gloves and goggles. Remember, safety is key.
Once equipped, begin by scraping off any excess adhesive with your scraper or putty knife, taking care not to damage the tile or surface underneath. Then, apply the solvent to the adhesive using a cloth or sponge, allowing it to sit for a few minutes to soften the adhesive.
After sufficient time has passed, use your scraper or putty knife to remove the softened adhesive. Repeat this process as necessary until all of the adhesive is gone. Keep in mind that it is crucial to follow all safety precautions when working with solvents.
It’s worth noting that different solvents work better on different types of adhesives. For example, mineral spirits are effective on tar-based adhesives, while acetone works well on rubber-based adhesives. Always refer to the manufacturer’s instructions before using any solvent on your adhesive.
If solvents aren’t doing the trick, don’t fret. You can try other methods such as using heat or steam. However, these techniques require specialized equipment and should only be used by professionals.
Using a Heat Gun to Soften the Adhesive
Look no further than the trusty heat gun – a tool that can soften tile adhesive and make it easy to remove quickly. As an expert in this field, I can guarantee that using a heat gun is one of the most efficient ways to tackle this task.
Before you start, safety should be your top priority. Protect your hands and eyes by wearing heat-resistant gloves and safety goggles. Then, plug in your heat gun and turn it on to the lowest setting. Hold the heat gun about 2-3 inches away from the surface of the adhesive and move it back and forth in a sweeping motion. Watch as the adhesive begins to soften and become more pliable.
Now that the adhesive has softened, use a scraper or putty knife to gently pry it up, being careful not to damage the underlying surface. If the adhesive cools down and becomes hard again, no worries – simply reapply heat until it softens once more.
Using a heat gun is an effective method for removing dried tile adhesive, but it’s important to take the proper precautions. Always follow safety guidelines when working with hot tools. Keep in mind that some types of tile adhesive may be resistant to heat and require an alternative removal method, so make sure to consult with a professional or refer to manufacturer instructions before attempting to remove dried tile adhesive.
Combining Techniques for Stubborn Areas
Removing stubborn dried tile adhesive can be a daunting task, but fear not. As an expert in this field, I can assure you that combining techniques can make the process much easier and efficient. Here are some effective techniques you can use:
- Heat gun: Using a heat gun is like having your own superhero tool, and it can work wonders when removing stubborn areas. The heat softens the adhesive, making it easier to scrape away without damaging the surface underneath. Don’t forget to wear protective gear like gloves and goggles for safety.
- Solvents: Solvents like acetone or mineral spirits can break down the adhesive, making it easier to remove with a scraper or brush. However, make sure to test the solvent on a small area first to avoid any damage to the surface.
- Heat and solvents: Why settle for one technique when you can combine both? Using heat first and then applying a solvent can help break down the adhesive even further, making it easier to remove.
Remember that patience is key when it comes to stubborn areas. Don’t rush the process and be prepared for multiple attempts and a combination of techniques. Also, make sure to read product instructions and safety precautions before using any tools or solvents.
Safety Precautions When Removing Dried Tile Adhesive
As a professional in the field, I know that removing dried tile adhesive can be a challenging and potentially hazardous task. That’s why it’s crucial to take certain safety measures to prevent any harm or injury to yourself and others around you.
Let’s start with personal protective equipment (PPE). Always wear appropriate gloves, safety glasses, and a respirator mask. Gloves will protect your hands from chemical burns or irritation caused by the adhesive removal products, while safety glasses will prevent debris or particles from entering your eyes during the removal process. A respirator mask will shield your lungs from harmful fumes or dust that may be released during the removal process.
Next, ensure that the work area is well-ventilated. Open windows and doors to allow for air circulation, and use fans to disperse any fumes or dust that may be released during the adhesive removal process. Proper ventilation is crucial as it helps keep the air quality safe and breathable while you work.
It’s also important to follow the manufacturer’s instructions carefully when using adhesive removal products. Label and store all products correctly, and never mix different products together, as this can cause a chemical reaction that may be harmful. By doing this, you’ll minimize the risk of any accidents or injuries occurring.
Lastly, keep children and pets away from the work area at all times. Adhesive removal products can be toxic if ingested and can cause serious harm if not handled properly. So, it’s best to keep curious little hands and paws away from your work area altogether.
nEayQuWBs_w” >
Conclusion
Removing dried tile adhesive can seem like a daunting task, but fear not. With the right methods and tools, you can remove it without damaging your surface. Whether you’re dealing with cement-based, epoxy-based, organic mastic, solvent-based, or water-based adhesive, there are different removal techniques that cater to specific needs. It’s crucial to choose the right type of tile adhesive for your project before removing it.
When tackling dried tile adhesive, you have several options depending on the size of the area and type of adhesive. These include hammers and chisels for manual removal, scrapers for larger areas, heat guns or hairdryers for loosening stubborn spots, solvents such as mineral spirits or acetone for dissolving adhesives and grinders for heavy-duty jobs.
It’s vital to prioritize safety when using any tool or chemical. Protective gear such as gloves, goggles and masks should be worn at all times. Additionally, always follow the manufacturer’s instructions when using any type of solvent or chemical.
For particularly stubborn areas of dried tile adhesive, combining techniques can help break down the bond. For example, using a heat gun first then applying a solvent can make it easier to remove.
Remember to take safety measures by wearing personal protective equipment (PPE), ensuring proper ventilation in the work area and following manufacturer’s instructions carefully when using adhesive removal products. By doing this you’ll minimize the risk of any accidents or injuries occurring.
In conclusion, removing dried tile adhesive is achievable with the right tools and techniques. Prioritizing safety measures will ensure a successful outcome without causing damage to your surface.

