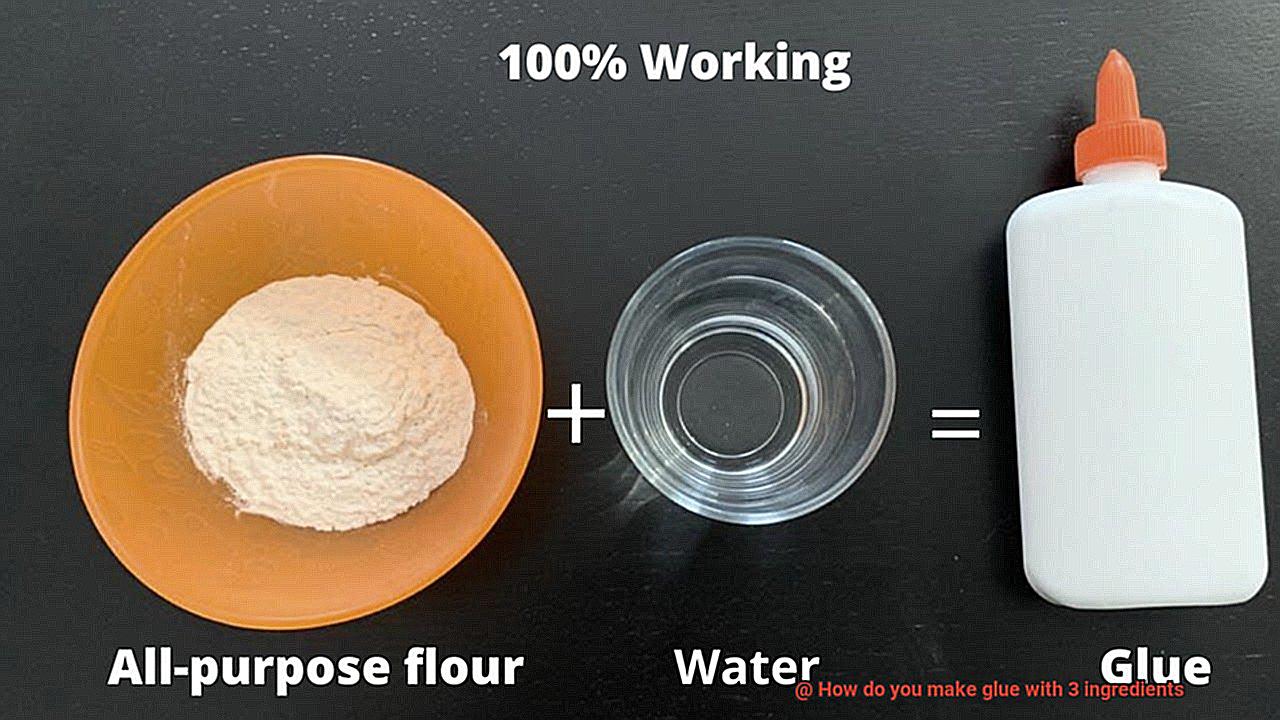
Well, I’ve got the solution for you. Today, I’m going to spill the beans on how to make your own glue with just three simple ingredients.
That’s right – only three. Whether you’re a craft lover, a DIY pro, or someone who just needs a quick fix, this homemade glue is about to become your new best friend.
So get ready to dive into the world of homemade glue making and unleash your inner craftsman in a fun and easy way.
What You Need to Make Glue
Contents
Glue is a magical adhesive that holds our world together, from intricate art projects to household repairs. While commercial glues are readily available, creating your own glue can be a thrilling and cost-effective alternative. In this blog post, we will explore the essential ingredients needed to make glue and guide you through the step-by-step process.
Water: The Foundation of Glue
Water serves as the fundamental base for glue, providing a medium for dissolving and mixing the other ingredients. It is crucial to use clean, fresh water to ensure optimal glue quality. Whether you opt for tap water or distilled water, it must be free from impurities that could affect the glue’s performance.
Flour: The Mighty Binding Agent
Flour acts as the powerful binding agent that grants glue its remarkable adhesive properties. All-purpose flour is an excellent choice due to its high gluten content. Gluten, a sticky protein, binds the flour particles together, creating a robust adhesive. However, if you have gluten allergies or sensitivities, alternatives like cornstarch or rice flour can be used.
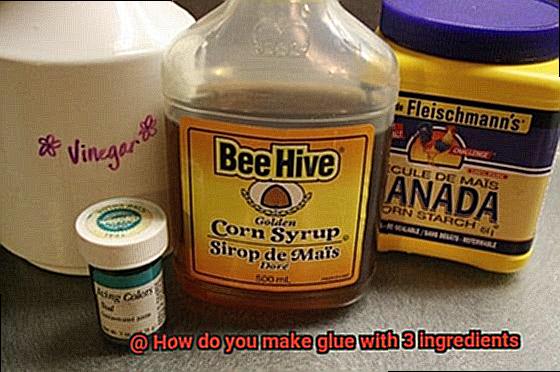
Vinegar: The Guardian of Preservation
To preserve your homemade glue and prevent spoilage or mold growth, a preservative is necessary. Vinegar is commonly employed due to its acidic properties that inhibit bacterial and fungal growth. Other natural preservatives, such as lemon juice or citric acid, can also be used effectively.
Optional Additives:
For an enhanced glue experience, consider incorporating optional additives such as:
- Salt: Adds thickness to prevent runniness.
- Essential Oils: Infuses your glue with a delightful scent.
Preparing the Ingredients
Or perhaps you’re just curious about the art of glue-making. Look no further. This blog post will guide you through the process of creating your own glue using just three simple household items: water, flour, and vinegar.
To begin, gather your supplies. You’ll need a mixing bowl, a whisk or spoon for stirring, a measuring cup, and a saucepan. These are all common items found in most kitchens, ensuring that this DIY project is easily accessible.
Once your supplies are ready, it’s time to prepare the ingredients. Start by measuring equal parts water and flour. For instance, if you opt for one cup of water, you’ll also need one cup of flour. Pour the water into the saucepan and heat it over medium heat until it gently boils.
As you wait for the water to boil, grab your measured flour and add it to the mixing bowl. This will serve as the foundation of your glue. Gradually add small amounts of cold water to the flour while continuously stirring. The objective is to achieve a smooth and thick paste-like consistency. Take your time during this step to ensure there are no lumps in the mixture.
Once your water reaches a gentle boil, cautiously pour it into the mixing bowl with the flour mixture. Stir vigorously to blend all the ingredients evenly. As the mixture cools slightly, you may notice its thickness increase.
Now it’s time to introduce vinegar into the mixture. Vinegar not only helps preserve the glue but also enhances its adhesive properties. Add around one tablespoon of vinegar to the mixture and stir well to incorporate it into the glue.
Heating and Stirring the Mixture
Today, we will unravel the utmost significance of heating and stirring the mixture when concocting glue with just three simple ingredients. So, slip into your lab coat and let us plunge into this fascinating journey.
Heating and stirring may appear as mundane steps, but they are the secret ingredients that guarantee your glue turns out flawlessly. Picture a world devoid of glue – no more arts and crafts, no more DIY projects. It’s a sticky situation we undoubtedly want to evade.
Let us commence with the first ingredient: water. Water acts as a solvent, and when warmed, its molecules gain energy and start darting around at a faster pace. This surge in temperature facilitates the effective dissolution of the other two ingredients, such as flour or gelatin. Heating also plays a pivotal role in achieving the ideal consistency for our glue.
Now, onto stirring – an indispensable step that ensures all the ingredients are evenly dispersed throughout the mixture. Visualize it as a dance party where all the ingredients mingle and bond harmoniously. Without stirring, there is a risk of clumping or uneven mixing, leading to glue that simply won’t adhere.
To attain glue-making greatness, you will require a heat source like a stovetop or hot plate, alongside a heat-resistant container such as a saucepan or glass beaker. Safety always comes first, my friends.
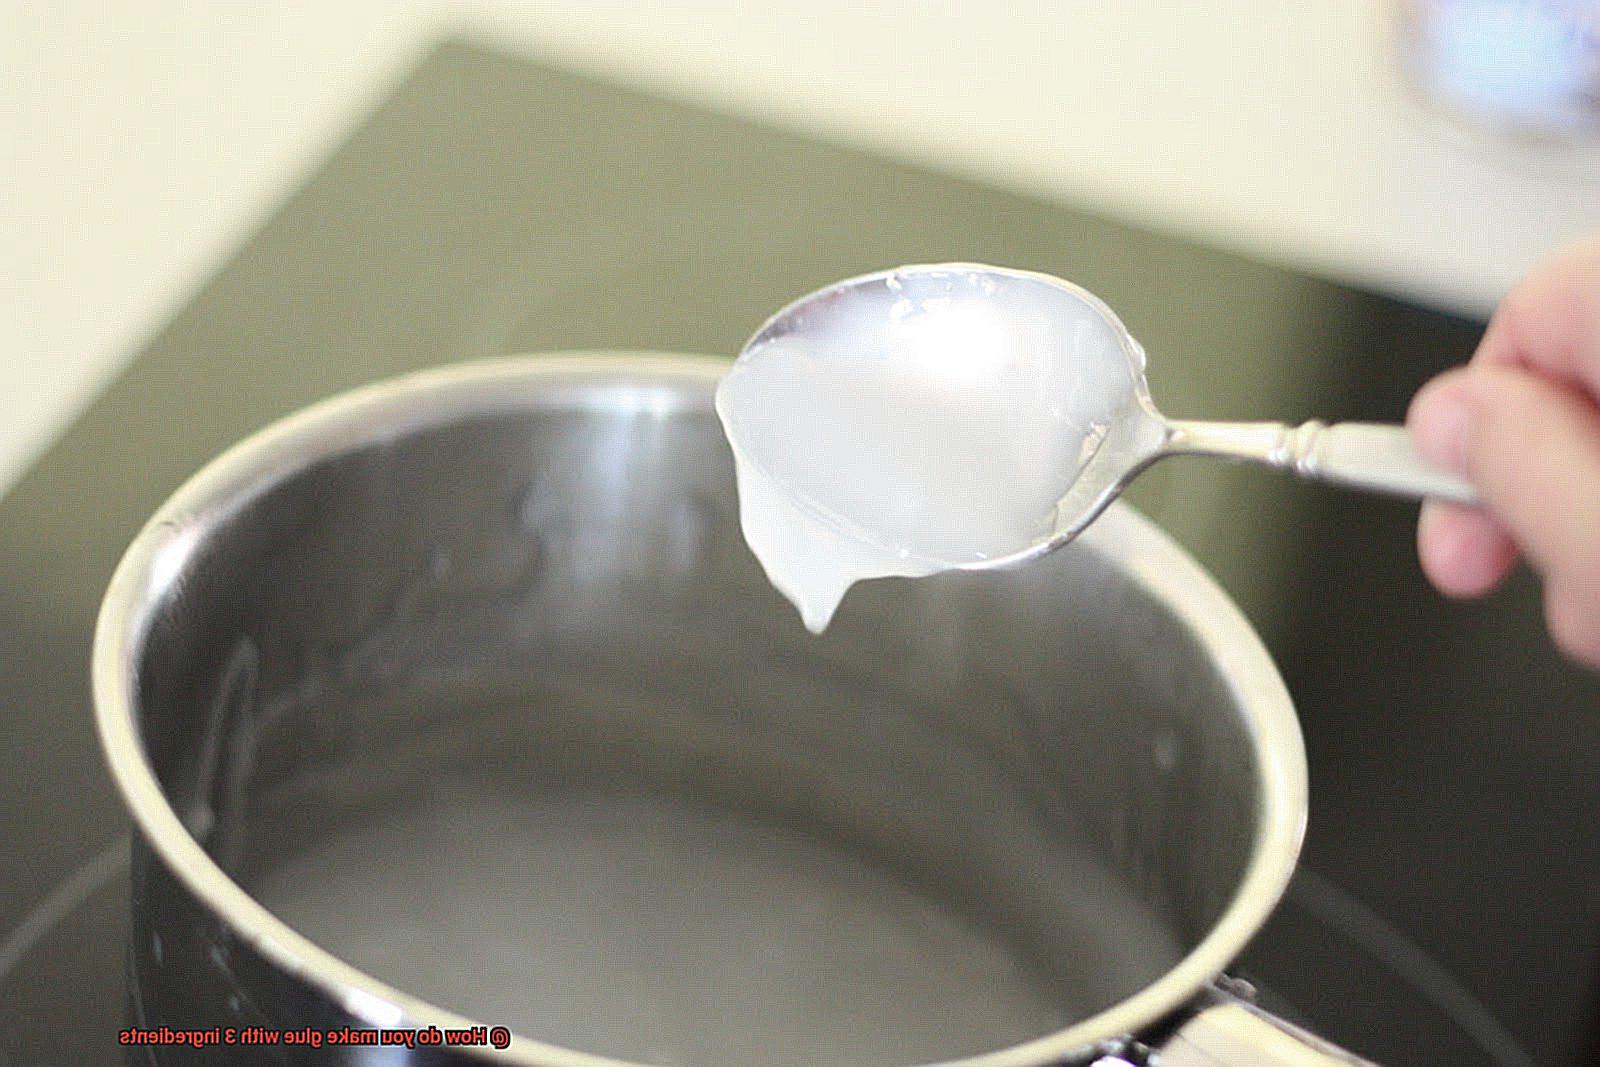
Begin by placing your chosen vessel on the heat source and adding the precise amount of water. Now, turn up the heat to a medium setting and allow the water to gradually warm up. Keep a vigilant eye on the temperature to prevent any boiling mishaps.
Once your water is warm but not boiling, it is time to introduce the other two ingredients. Sprinkle in flour or gelatin gradually while simultaneously stirring the concoction with a whisk or spoon. Stirring will ensure that everything dissolves and combines seamlessly.
Continue stirring for several minutes to disintegrate any lumps or clumps that may have formed. We desire a smooth, uniform consistency throughout our glue. As you persist in heating and stirring, you will notice the mixture thickening – a surefire indication that your glue is coming to life.
When your mixture reaches the desired thickness, remove it from the heat source and allow it to cool down. Bear in mind that the glue will continue to solidify further as it cools.
And there you have it – your very own homemade glue. Heating and stirring were the dynamic duo that brought your ingredients together, creating a magical, adhesive substance that can bind and repair like no other.
So, the next time you embark on a craft project or find yourself in need of a reliable adhesive, remember the paramount importance of heating and stirring your glue mixture. It is the secret recipe for triumph.
Cooling and Adding the Vinegar
Today, we’re going to uncover the secrets behind making glue with just three ingredients. And guess what? Cooling and adding vinegar are two important steps that will take your homemade glue from good to great.
First things first, let’s talk about cooling. Once you’ve combined cornstarch and water and heated the mixture until it thickens, it’s time to let it cool down. Don’t rush this process. The magic happens when the glue solidifies and reaches its full adhesive potential. So be patient and give it some time to cool off, allowing those cornstarch particles to form a sturdy, sticky gel.
Now, let’s move on to vinegar. Adding vinegar to the cooled mixture serves a dual purpose. Firstly, vinegar acts as a preservative, ensuring that your homemade glue stays fresh for longer. No one wants moldy glue ruining their artistic masterpiece, right? Secondly, vinegar enhances the adhesive properties of the glue, making it even stickier and more effective in holding things together. It’s like a secret superpower for your DIY projects.
When adding vinegar, remember to do it gradually and in small increments. This will help you control the consistency of the glue and avoid it becoming too runny or watery. Stirring is also key here – make sure to mix everything thoroughly so that the vinegar is evenly distributed throughout the glue, infusing it with its preserving and adhesive powers.
And voila. You’ve just created your very own homemade glue that is ready to tackle any arts and crafts or household repair project you throw at it. Plus, you can feel proud knowing that you’ve made an eco-friendly and cost-effective alternative to store-bought glue.
Transferring and Storing the Glue
Say goodbye to disappointment and hello to success by making your own homemade glue with just three simple ingredients.
In this blog post, we will not only reveal the secret recipe for making incredible glue but also guide you through the crucial steps of transferring and storing it properly.
Get ready to unleash your crafty side and ensure your glue stays fresh and effective for all your artistic endeavors.
Transferring the Glue:
- Choose the Right Container: Your glue, your choice. Whether you prefer a squeeze bottle for precise application or a small jar for larger batches, select a container that suits your needs and style.
- Cleanse and Purify: Before transferring the glue, give your storage container a spa treatment. Wash it thoroughly with warm soapy water, rinse away impurities, and allow it to bask in the sun until completely dry.
- Pour with Care: Embrace your inner mixologist and pour the glue into the storage container with expert precision. Use a funnel or channel your steady hand skills to avoid spills and wastage. For narrow-necked containers, take it slow and pour in small batches.
Storing the Glue:
- Cool and Dry Storage: Just like Goldilocks, your homemade glue prefers a cool, dry place. Shield it from direct sunlight and extreme temperatures to maintain its quality and adhesive powers.
- Preservative Power: Want your glue to last longer? Consider adding vinegar or essential oils as preservatives. These magical ingredients prevent mold and bacteria growth. Follow recommended dosages, mix them into the glue before transferring, and let the preservation magic begin.
- Label and Track: No more guessing games. Avoid confusion by labeling the storage container with the contents and date of preparation. This simple step will help you keep track of your glue’s age and prioritize its usage.
Tips for Making Homemade Glue
Look no further than homemade glue. In this article, we will provide you with comprehensive tips on making your own glue using simple ingredients you probably already have in your kitchen. Whether you are a budding artist or a DIY enthusiast, homemade glue is the secret ingredient that will elevate your crafting game. Let’s get started on this thrilling adventure.
Flour Power: Create a Sticky Paste
One popular recipe for homemade glue involves the magical combination of flour and water. By mixing equal parts of these two ingredients, you can create a thick paste that is perfect for lightweight materials like paper and cardboard. The process is as simple as stirring the mixture until it reaches the consistency of gooey pancake batter. This type of glue is excellent for school projects or creating unique scrapbook designs that will leave an everlasting impression.
Cornstarch Magic: Strong and Durable
If you are working on a project that requires a more robust adhesive, look no further than the cornstarch and water recipe. Mixing equal parts of cornstarch and water results in a stronger and more durable glue. This type of glue is ideal for heavier materials such as fabric or wood, making it perfect for creating stunning DIY home decor or repairing broken items around the house.
Vinegar and Gelatin: Quick-Drying Wonder
For those who simply can’t wait to see their creations come to life, the vinegar and gelatin recipe is the way to go. Dissolve gelatin in warm water and then mix it with white vinegar to create a quick-drying adhesive that will bring your projects to completion in no time. This glue is perfect for impatient artists who want immediate gratification.
Consider Your Project’s Needs: Clear or Quick-Drying?
Before diving into the world of homemade glue, take a moment to consider the specific requirements of your project. If you need a glue that dries clear, opt for the cornstarch and water mixture. On the other hand, if time is of the essence and a quick-drying adhesive is essential, go with the vinegar and gelatin recipe. Understanding your project’s needs will ensure that you achieve the best results possible.
Follow the Recipe: Mix and Dry Properly
To guarantee optimal results with homemade glue, it is crucial to follow the recipe instructions carefully. Mixing the ingredients in the correct proportions and allowing the glue to dry properly will help you achieve the desired adhesive properties. Take your time, be patient, and enjoy the creative process. Homemade glue is not only about bonding materials together; it’s about bonding with your creative spirit.
Uses for Homemade Glue
Homemade glue is not only a budget-friendly alternative, but it’s also a versatile adhesive solution with endless possibilities. Let’s dive into the world of homemade glue and explore its various uses, from the practical to the downright fun.
When it comes to arts and crafts, homemade glue is a game-changer. Whether you’re into scrapbooking, card making, or collage art, this sticky wonder will effortlessly bind different types of paper together, allowing you to create intricate designs that will leave your friends in awe.
But homemade glue isn’t just for the artsy types. It’s also perfect for joining the slime trend that has taken the world by storm. Mix it with some borax or liquid starch, and voila. You’ve got yourself a stretchy, gooey concoction that will provide hours of sensory delight for kids and adults alike.
Woodworking enthusiasts will be thrilled to discover that homemade glue is a secret weapon in their craft. No more worrying about weak joints or wobbly furniture. This adhesive wonder ensures that your wooden creations, no matter how big or small, stand the test of time.
But wait, there’s more. Have a broken ceramic dish or torn book pages? Homemade glue can come to the rescue. Its adhesive properties make it suitable for bonding various materials like fabric, plastic, and wood, allowing you to repair an array of items around the house.
Teachers can also harness the power of homemade glue in their classrooms. Incorporate it into science experiments or art projects to stimulate creativity and hands-on learning. Not only will students have a blast exploring material properties and interactions, but they’ll also gain valuable knowledge along the way.
Feeling crafty? Mix homemade glue with food coloring or glitter to create personalized stickers or labels for notebooks, gift wrapping, or organizing items around your home. Add a touch of uniqueness to your everyday life with these homemade creations.
And let’s not forget about the world of crafting techniques that homemade glue unlocks. Decoupage and papier-mâché become a breeze when you have this adhesive wonder in your arsenal. Securely layer paper or fabric onto surfaces, creating beautiful and durable pieces that will be the envy of all.
ooq70MmXEPg” >
Conclusion
In conclusion, creating glue with only three ingredients offers a straightforward and budget-friendly alternative to store-bought options. With water, flour, and vinegar as your trusty trio, you can concoct a versatile adhesive that’s tailor-made for all your crafting and DIY endeavors.
Water forms the backbone of this glue recipe, serving as the ideal medium for dissolving and blending the other ingredients. Flour steps in as the binding agent, transforming into a sticky paste that firmly holds materials together. And let’s not forget about vinegar – this magical elixir not only acts as a preservative to stave off spoilage and mold but also enhances the adhesive properties of our homemade glue.
Crafting this glue involves a delightful dance of heat and stirring. By gently warming the mixture and giving it a good stir, you ensure that every ingredient is seamlessly integrated. The heat helps dissolve the flour or gelatin in water, while stirring guarantees an impeccably smooth and uniform consistency.
Once your glue masterpiece is complete, it’s crucial to transfer it into a suitable container and store it in a cool, dry haven. If you’re keen on extending its shelf life, consider adding vinegar or essential oils as preservatives – they’ll keep your homemade glue fresh for longer.
The beauty of homemade glue lies in its versatility – it can be utilized for an array of purposes. Whether you’re diving into paper crafts or embarking on a slime-making adventure, dabbling in woodworking or mending ceramics or books, even if you’re an educator seeking adhesive solutions – this DIY adhesive has got you covered.