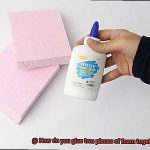
Are your foam rubber cushions constantly slipping and sliding on your wooden chairs or benches?
Frustrating, right? Or maybe you’re embarking on a cool DIY project that involves bonding foam rubber to a wooden surface, but you’re feeling a bit clueless about how to make it stick.
Well, don’t fret. In this blog post, we’ll delve into the art of gluing foam rubber to wood, equipping you with all the tips and tricks you need to conquer this task like a seasoned pro.
So grab that glue and let’s plunge headfirst into the captivating realm of foam rubber and wood adhesion.
Selecting the right adhesive for foam rubber and wood
Contents
- 1 Selecting the right adhesive for foam rubber and wood
- 2 Preparing the surfaces for gluing
- 3 Applying the adhesive to foam rubber and wood
- 4 Allowing the adhesive to dry properly
- 5 Aligning and pressing the foam rubber onto the wood surface
- 5.1 Step 1: Research and Select the Right Adhesive:
- 5.2 Step 2: Cleanliness is Paramount:
- 5.3 Step 3: Precise Alignment:
- 5.4 Step 4: The Art of Applying Adhesive:
- 5.5 Step 5: Mastering Pressing Techniques:
- 5.6 Step 6: Apply Even Pressure:
- 5.7 Step 7: Allow for Curing Time:
- 5.8 Step 8: Verify Bond Strength:
- 5.9 Step 9: Trim Excess Foam with Care:
- 6 Using clamps or weights during curing process
- 7 Additional techniques for enhancing bond strength
- 8 Special considerations for different types of foam rubber
- 9 Conclusion
Achieving a strong and durable bond between foam rubber and wood requires careful consideration of the adhesive used. The type of foam rubber, wood, application method, and intended use of the materials all play a crucial role in selecting the right adhesive. In this article, we will explore different adhesive options and provide valuable tips for successful bonding.
Adhesive Options:
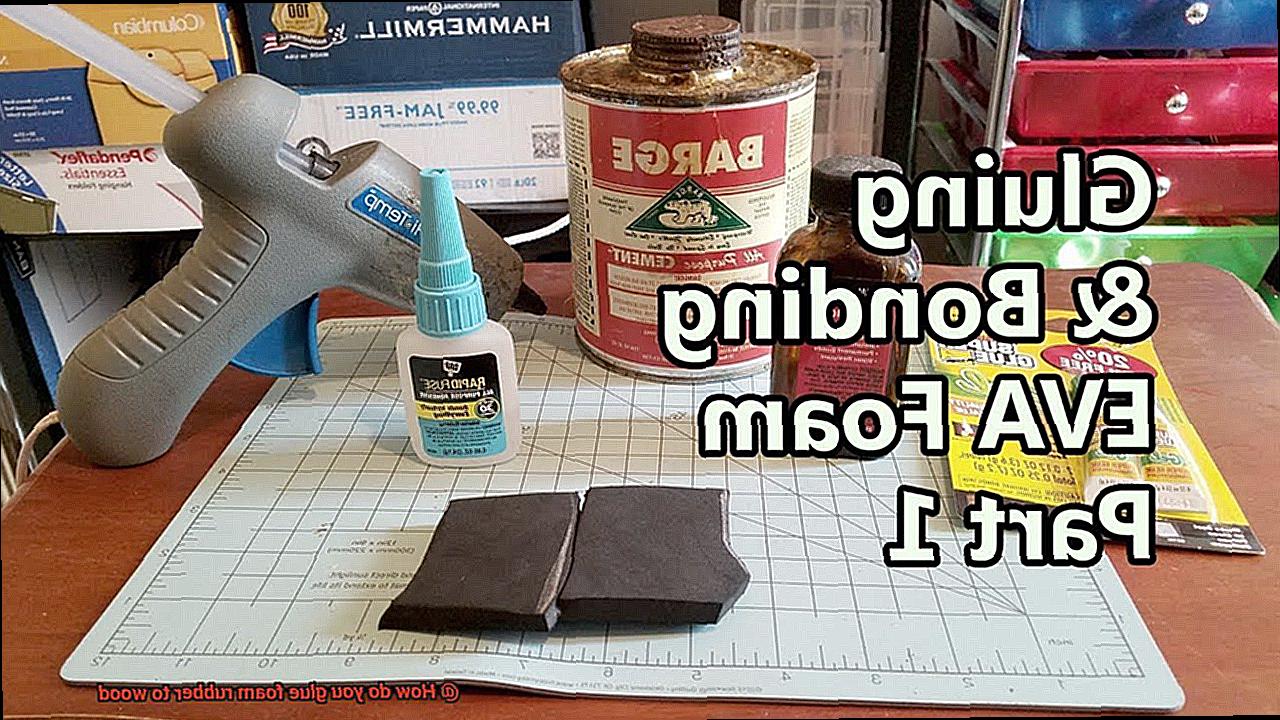
- Contact Cement: Contact cement is a popular choice for foam rubber and wood bonding due to its instant bonding properties. Available in solvent-based and water-based formulas, contact cement offers excellent durability and resistance to heat and moisture. Solvent-based contact cement provides a robust bond, while water-based contact cement offers a safer alternative with lower VOC content.
- Epoxy Adhesives: Known for their high strength and durability, epoxy adhesives are ideal for applications that require a long-lasting bond. However, they may require mixing two components together and have a longer curing time.
- Polyurethane Adhesives: Offering flexibility and strong bond strength, polyurethane adhesives are suitable for foam rubber to wood bonding in applications with expected movement or vibration. They also have excellent resistance to heat and moisture.
- Cyanoacrylate Adhesives: Commonly referred to as super glue, cyanoacrylate adhesives provide an instant bond, making them suitable for small or temporary bonds. However, they may not be suitable for larger or load-bearing applications as they can become brittle over time.
Tips for Successful Bonding:
- Clean Surfaces: Before applying adhesive, ensure both the foam rubber and wood surfaces are free from dust, dirt, and grease. Clean them using a mild detergent solution and a clean cloth, ensuring they are completely dry before proceeding.
- Proper Application: Apply an even coat of adhesive to both surfaces using a brush or roller. Follow the manufacturer’s instructions regarding drying times and application methods for optimal results.
- Alignment and Pressure: Carefully align the foam rubber with the wood surface and firmly press them together. Use clamps or weights to hold the materials in place during the curing process, resulting in a stronger bond.
- Additional Techniques: To enhance bonding, consider perforating the foam rubber surface with small holes using a needle or roughening the wood surface slightly with sandpaper to provide better adhesion.
Preparing the surfaces for gluing
If you’re searching for the secret to creating a strong and enduring connection between foam rubber and wood, your quest ends here. In this comprehensive guide, we will unravel the mysteries of preparing surfaces for gluing, unveiling the key steps that guarantee a secure bond capable of withstanding the test of time. So, let’s dive headfirst into the world of successful foam rubber and wood bonding.
Step 1: Cleanliness is Key
Before embarking on the gluing process, it is crucial to ensure that both the foam rubber and wood surfaces are immaculately clean, free from any dirt or debris. Imagine trying to unite two magnets with sandpaper wedged in between – not exactly a recipe for success. Grab a mild detergent and mix it with water to concoct a cleansing solution. Gently wipe down the foam rubber surface using a soft cloth or sponge, ensuring thorough rinsing and allowing it to dry completely.
Step 2: Sanding for Success
Now it’s time to embrace your inner artisan. Well, not quite, but lightly sanding the wood surface is essential for creating an optimal texture that promotes superior adhesion. Utilize a fine-grit sandpaper and delicately sand in the direction of the wood grain. Think of it as granting the wood a gentle exfoliation treatment. Remember, moderation is key – we aim to achieve a slightly roughened surface, not a full-fledged makeover.
Step 3: Dust Off the Drama
After your sanding endeavor, ensure no remnants of dust or debris remain on the wood surface. Employ a tack cloth or soft brush to meticulously eliminate any particles that could potentially sabotage your glue bonding operation. Picture yourself as an investigative detective on a mission to rid the scene of any suspects capable of compromising your adhesive masterpiece.
Step 4: Adhesive Application
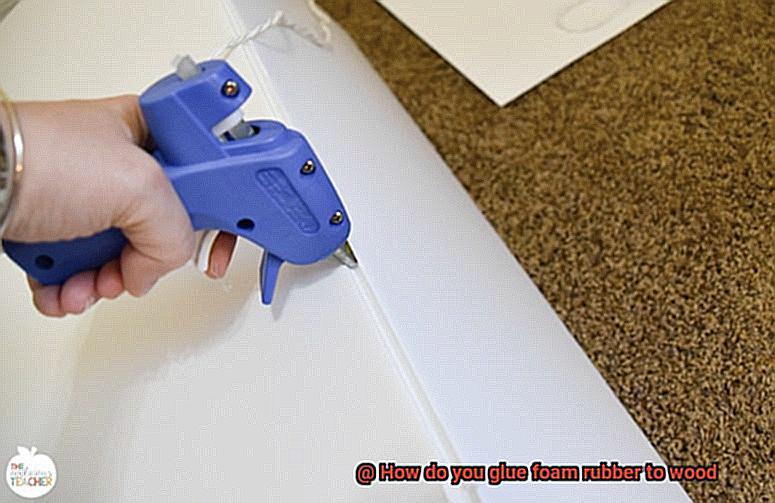
Now, the moment you’ve been waiting for – it’s time to apply the adhesive. There are various adhesives suitable for bonding foam rubber to wood, such as contact cement or specialized foam adhesive.
Pay close attention to the manufacturer’s instructions, as each adhesive possesses its own unique quirks. Using a brush or spatula, apply a thin and even layer of adhesive to both the foam rubber and wood surfaces. Exercise restraint with the glue application; our goal is to achieve a robust bond, not a volcanic eruption of adhesive excess.
Applying the adhesive to foam rubber and wood
Embarking on the journey of gluing foam rubber to wood may seem like a daunting task, but fear not. With the right adhesive and a few simple steps, you can create a bond that will withstand the test of time. In this comprehensive guide, we will unravel the secrets behind achieving a strong and durable connection between foam rubber and wood.
Choosing the Perfect Adhesive:
When it comes to bonding these two materials, the adhesive you select plays a pivotal role. Consider factors such as the type of foam rubber and wood being used, desired bond strength, and application method.
Among the myriad options available, one popular choice is contact adhesive. Known for its exceptional initial tack and ability to bond different materials together, contact adhesive is a reliable companion in this endeavor.
Preparing the Surfaces:
Surface preparation is paramount to ensure a reliable bond. Begin by meticulously cleaning both the foam rubber and wood surfaces, ensuring there is no trace of dust, dirt, or debris. To enhance adhesion, remove any existing finishes or coatings on the wood. Additionally, lightly sanding the wood surface will create a rough texture that enhances the adhesive’s grip.
Applying the Adhesive:
The application of adhesive requires precision and care. Follow the manufacturer’s instructions diligently. If necessary, shake or stir the adhesive before use to ensure optimal consistency. For spray adhesives, hold the can approximately 6-8 inches away from the surfaces and apply an even coat on both the foam rubber and wood. On the other hand, liquid adhesives necessitate using a brush or spreader to achieve a thin layer on both surfaces.
Drying Time:
Patience becomes paramount during the drying stage. Allow the adhesive to dry until it is no longer tacky to the touch. The drying time can vary depending on the specific adhesive used; hence it is crucial to consult the product instructions for guidance. Rushing this stage may compromise the strength of the bond.
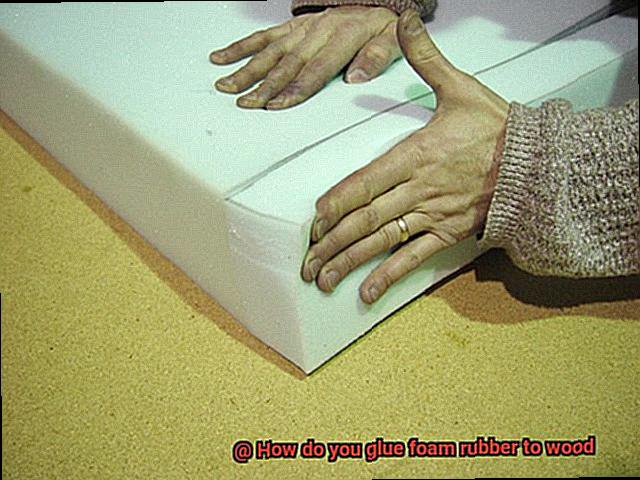
The Bonding Process:
Once the adhesive has fully dried, it is time to embark on the bonding process. Carefully align and press the foam rubber onto the wood surface, ensuring every corner adheres securely. Applying even pressure across the entire bonded area is vital to establish a lasting connection. Consider using clamps or weights to hold the materials together while the adhesive cures. For precise curing time, refer to the manufacturer’s instructions.
Environmental Considerations:
It is worth noting that certain adhesives require specific temperature or humidity conditions for optimal bonding. To achieve exceptional results, ensure that both application and curing occur under appropriate environmental conditions.
Allowing the adhesive to dry properly
In the realm of gluing foam rubber to wood, the path to a robust and enduring bond lies in the meticulous process of allowing the adhesive to dry properly. This article delves into the paramount importance of achieving proper drying and unveils the essential steps necessary for forging a connection that will defy the test of time.
Choosing the Right Adhesive:
Before embarking on the journey of drying, it is imperative to select an adhesive that complements your project. Adhesives possess distinct properties, tailored for specific materials. When uniting foam rubber and wood, opt for a premium adhesive formulated to forge an unyielding bond between these two surfaces.
The Drying Process:
Once you have fastidiously applied the adhesive and firmly pressed the foam rubber onto the wooden surface, it is time to unleash nature’s transformative power. Adhering to the manufacturer’s instructions regarding drying time is non-negotiable. Hastening this pivotal step risks compromising the integrity of your bond, potentially resulting in feeble attachments that are destined for failure.
Environmental Considerations:
To ensure optimal drying conditions, creating a stable environment for your glued materials is paramount. Extreme temperatures and humidity levels can exert an adverse influence on drying times, ultimately impacting the strength of your bond. Unleash proper ventilation within the vicinity to facilitate air circulation, thereby expediting the drying process.
Avoid Premature Handling or Pressure:
In this realm, patience reigns supreme. Refrain from moving or utilizing your bonded objects until the prescribed drying time has elapsed. Applying stress or pressure prematurely jeopardizes your bond, yielding inferior attachments that crumble under pressure. Allow gravity and time to weave their magic, nurturing a bond that defies all odds.
Additional Support if Needed:
For larger or weightier objects, relying solely on gravity may prove insufficient during the drying process. In such cases, consider enlisting the aid of clamps or weights to evenly distribute pressure, ensuring an intimate connection between the foam rubber and wood. This additional support can significantly bolster the strength of your bond, fortifying it against the test of time.
Cleaning up Excess Adhesive:
Once your adhesive has achieved its full potential, inspecting the bond for any excess adhesive that may have oozed out during drying is paramount. Meticulously remove any surplus using suitable tools or solvents recommended by the adhesive manufacturer. This painstaking step not only augments the aesthetic appeal of your bond but also prevents interference with the functionality of your glued materials.
Aligning and pressing the foam rubber onto the wood surface
Achieving a flawless bond between foam rubber and wood requires finesse and precision. In this comprehensive guide, we will delve into the step-by-step process of aligning and pressing foam rubber onto wood surfaces, guaranteeing a secure and enduring connection. Get ready to elevate your craft.
Step 1: Research and Select the Right Adhesive:
Before embarking on the gluing process, thorough research is essential. Seek out adhesives specifically designed for bonding foam rubber to wood surfaces. Popular choices include contact cement or spray adhesive. Choose an adhesive that aligns with your project requirements.
Step 2: Cleanliness is Paramount:
Cleanliness plays a pivotal role in establishing a robust bond. Employ a soft cloth or brush to diligently cleanse both the foam rubber and wood surface. Eliminate any traces of dust, dirt, or debris that could impede the adhesive’s efficacy.
Step 3: Precise Alignment:
To ensure meticulous alignment, position the foam rubber on the wood surface in accordance with your desired placement. Utilize a pencil or masking tape to mark the edges or corners of the foam onto the wood as a guide during the gluing process.
Step 4: The Art of Applying Adhesive:
Apply an even layer of adhesive onto the wood surface, adhering strictly to the manufacturer’s instructions for your chosen adhesive. Allow the adhesive to reach a tacky state before proceeding to the next step.
Step 5: Mastering Pressing Techniques:
With the adhesive now tacky, cautiously press the foam rubber onto the wood surface. Begin by aligning one edge or corner of the foam with the corresponding marks on the wood. Gradually exert pressure along the entire length or area of the foam, ensuring uniform adhesion.
Step 6: Apply Even Pressure:
To achieve maximum contact between the foam rubber and wood surface, evenly distribute pressure across the glued area. This can be accomplished using clamps or weights, guaranteeing a potent bond that withstands the test of time.
Step 7: Allow for Curing Time:
Grant the foam rubber and wood surface ample time to cure undisturbed. Refer to the recommended duration specified by the adhesive manufacturer. This period allows the bond to solidify and strengthen, ensuring unparalleled longevity.
Step 8: Verify Bond Strength:
After the designated curing time, gently tug on the foam rubber to test its resilience. If any weak spots or movement are detected, apply additional adhesive and repeat the pressing process until a sturdy bond is achieved.
Step 9: Trim Excess Foam with Care:
Trim any excess foam rubber extending beyond the wood surface using a utility knife or scissors. Exercise caution to avoid damaging either the foam or wood while trimming.
Using clamps or weights during curing process
When it comes to gluing foam rubber to wood, compromise is not an option. A strong and durable bond is crucial for ensuring the longevity of your project.
Fortunately, with the right techniques and tools at your disposal, achieving a rock-solid connection is well within reach. In this comprehensive guide, we will delve into the art of using clamps or weights during the curing process, equipping you with the knowledge to create a bond that is as unyielding as it is reliable.
The Power of Pressure:
To attain a robust bond between foam rubber and wood, pressure plays a pivotal role. The application of consistent and even pressure during the curing process guarantees optimal adhesion. This is precisely where the use of clamps or weights enters the picture.
Clamps: The Mighty Helpers:
Versatile and indispensable, clamps are a woodworker’s best friend. With their adjustable pressure and an array of shapes and sizes available, clamps provide unparalleled versatility. When utilizing clamps, it is imperative to thoroughly clean both the foam rubber and wood surfaces beforehand.
Apply a fine layer of adhesive to each surface, ensuring precision alignment before positioning the clamps at regular intervals along the edges and across the entire surface. It is crucial to exercise caution and avoid over-tightening the clamps, as excessive pressure may cause excess glue to seep out and potentially damage the bond.
Weights: A Steady Alternative:
In scenarios where clamps may be unavailable or unsuitable for your project, weights can serve as a reliable alternative. Strategically placing heavy objects evenly across the surface of the foam rubber helps maintain consistent pressure throughout the curing process.
To prevent any damage or imprints on the foam rubber, ensure that the weights possess flat and smooth surfaces. It may be necessary to safeguard the foam rubber by employing plastic wrap or wax paper before gently placing the weights on top.
Patience is Key:
Once pressure has been applied using clamps or weights, it is essential to resist the urge to hasten the curing process. Adhere strictly to the recommended curing time specified by the adhesive manufacturer to allow for optimal bonding.
Bear in mind that different adhesives may possess varying curing times, necessitating consultation of the manufacturer’s guidelines for accurate information. After the designated curing time has lapsed, cautiously remove the clamps or weights and meticulously inspect the bond. If any areas appear weak or incomplete, reapplying adhesive and pressure to those regions may be necessary.
Additional techniques for enhancing bond strength
Enhancing bond strength when gluing foam rubber to wood requires more than just the right adhesive. There are several additional techniques that can significantly improve the durability and longevity of the bond. So, let’s delve into these techniques and take your foam rubber to wood bonding game to the next level.
First and foremost, surface preparation is key. Before applying any adhesive, make sure both the foam rubber and wood surfaces are squeaky clean. Dust, dirt, and debris can be real deal-breakers when it comes to achieving a strong bond. Grab a clean cloth or some compressed air to wipe away any unwanted particles. And don’t forget to give both surfaces a light sanding. This roughens them up a bit and provides a better surface for the adhesive to latch onto.
Now, let’s talk about the magic of primers or bonding agents. These substances are like cupid’s arrow for adhesive bonding. They create an extra-strong connection between your foam rubber and wood. Apply them before the adhesive for maximum effect. You can easily find these wonders at any hardware store or seek advice from adhesive manufacturers.
Of course, choosing the right adhesive is crucial. Don’t settle for just any old glue. Look for adhesives specifically designed for bonding foam rubber to wood. Polyurethane-based adhesives or contact adhesives are your go-to options here. They offer the perfect combination of strength and flexibility, which is essential when working with materials that have different expansion rates.
Now, let’s talk technique. Applying the adhesive evenly is key to achieving a strong bond. Too little adhesive won’t provide enough strength, while too much will result in a messy application. Follow the manufacturer’s instructions on application techniques, including coverage rates and drying times. Trust me, they know what they’re talking about.
Lastly, patience is a virtue when it comes to curing time. Don’t rush the process. Give that adhesive the time it needs to reach its full strength before subjecting it to pressure or stress. Remember, good things come to those who wait.
Special considerations for different types of foam rubber
Imagine the thrill of transforming a beautiful piece of foam rubber into a stunning addition to your wooden masterpiece. But before diving headfirst into this exciting project, it’s crucial to understand the special considerations for different types of foam rubber. In this blog post, we will unleash the secrets behind successfully gluing foam rubber to wood, ensuring a bond that withstands the test of time. So grab your glue guns, prepare for an adventure, and let’s dive into the captivating world of foam rubber.
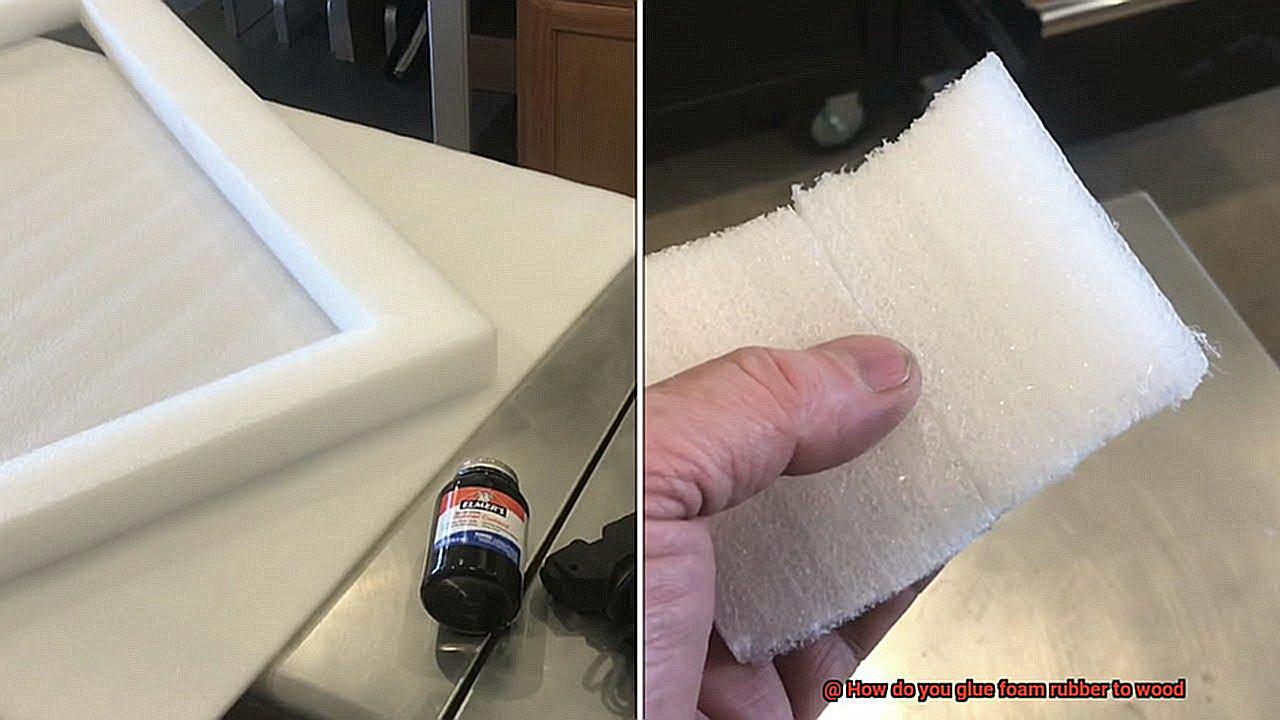
Open-cell Foam Rubber – The Airy Delight:
Open-cell foam rubber, with its interconnected cells akin to a breath of fresh air, requires special attention when it comes to gluing it to wood. To achieve a strong bond, opt for spray adhesives or contact adhesives capable of penetrating those airy cells. Apply the adhesive evenly to both the foam rubber and wood surface; allow it time to partially dry before pressing the two together. This method guarantees a secure and long-lasting bond that will leave you breathless.
Closed-cell Foam Rubber – The Impenetrable Force:
Closed-cell foam rubber is like a fortress, with sealed cells providing excellent resistance against moisture and air. However, bonding closed-cell foam to wood requires finesse. Traditional adhesives may struggle to penetrate effectively, resulting in weaker bonds. Fear not. Enter specialized adhesives designed specifically for closed-cell foam, such as polyurethane-based adhesives, ready to conquer all odds. These magical potions work their charm, creating a bond that defies expectations.
Memory Foam – The Contour Queen:
Ah, memory foam – the epitome of comfort and coziness. But gluing this high-density material to wood presents unique challenges. To conquer this task, reach for two-part epoxy adhesives known for their exceptional strength and durability. Remember to clean both surfaces thoroughly before applying the adhesive, ensuring no dust or debris gets in the way of a perfect bond. With the right adhesive, your memory foam will remember the bond forever.
High-density Foam – The Stalwart Support:
When it comes to high-density foam, strength and support are paramount. This rigid foam type requires an adhesive that can handle the weight and stress placed upon it. Opt for polyurethane-based or construction adhesives, capable of withstanding the test of time. Apply the adhesive evenly on both surfaces, partially dry it, and then press them together with clamps or weights for added reassurance. Your high-density foam will thank you for the rock-solid bond.
8_DMs_rcqTc” >
Conclusion
When it comes to gluing foam rubber to wood, there are a few key steps you need to follow for a successful bond. First and foremost, make sure the surfaces are clean and free of any dust or debris. This will ensure that the glue adheres properly.
Next, choose the right adhesive for the job. A good option is a solvent-based contact adhesive, as it provides a strong and durable bond. Apply the adhesive evenly to both the foam rubber and the wood surface, using a brush or roller.
Once the adhesive has been applied, allow it to dry for a few minutes until it becomes tacky. Then carefully press the foam rubber onto the wood, making sure to align it properly.
To ensure a secure bond, apply pressure evenly across the entire surface of the foam rubber. You can use clamps or heavy objects to hold everything in place while the glue sets.
Finally, let the glued foam rubber and wood sit undisturbed for at least 24 hours to allow for complete curing of the adhesive.
By following these steps and using the right adhesive, you can successfully glue foam rubber to wood and create a strong and long-lasting bond that will withstand time and use.