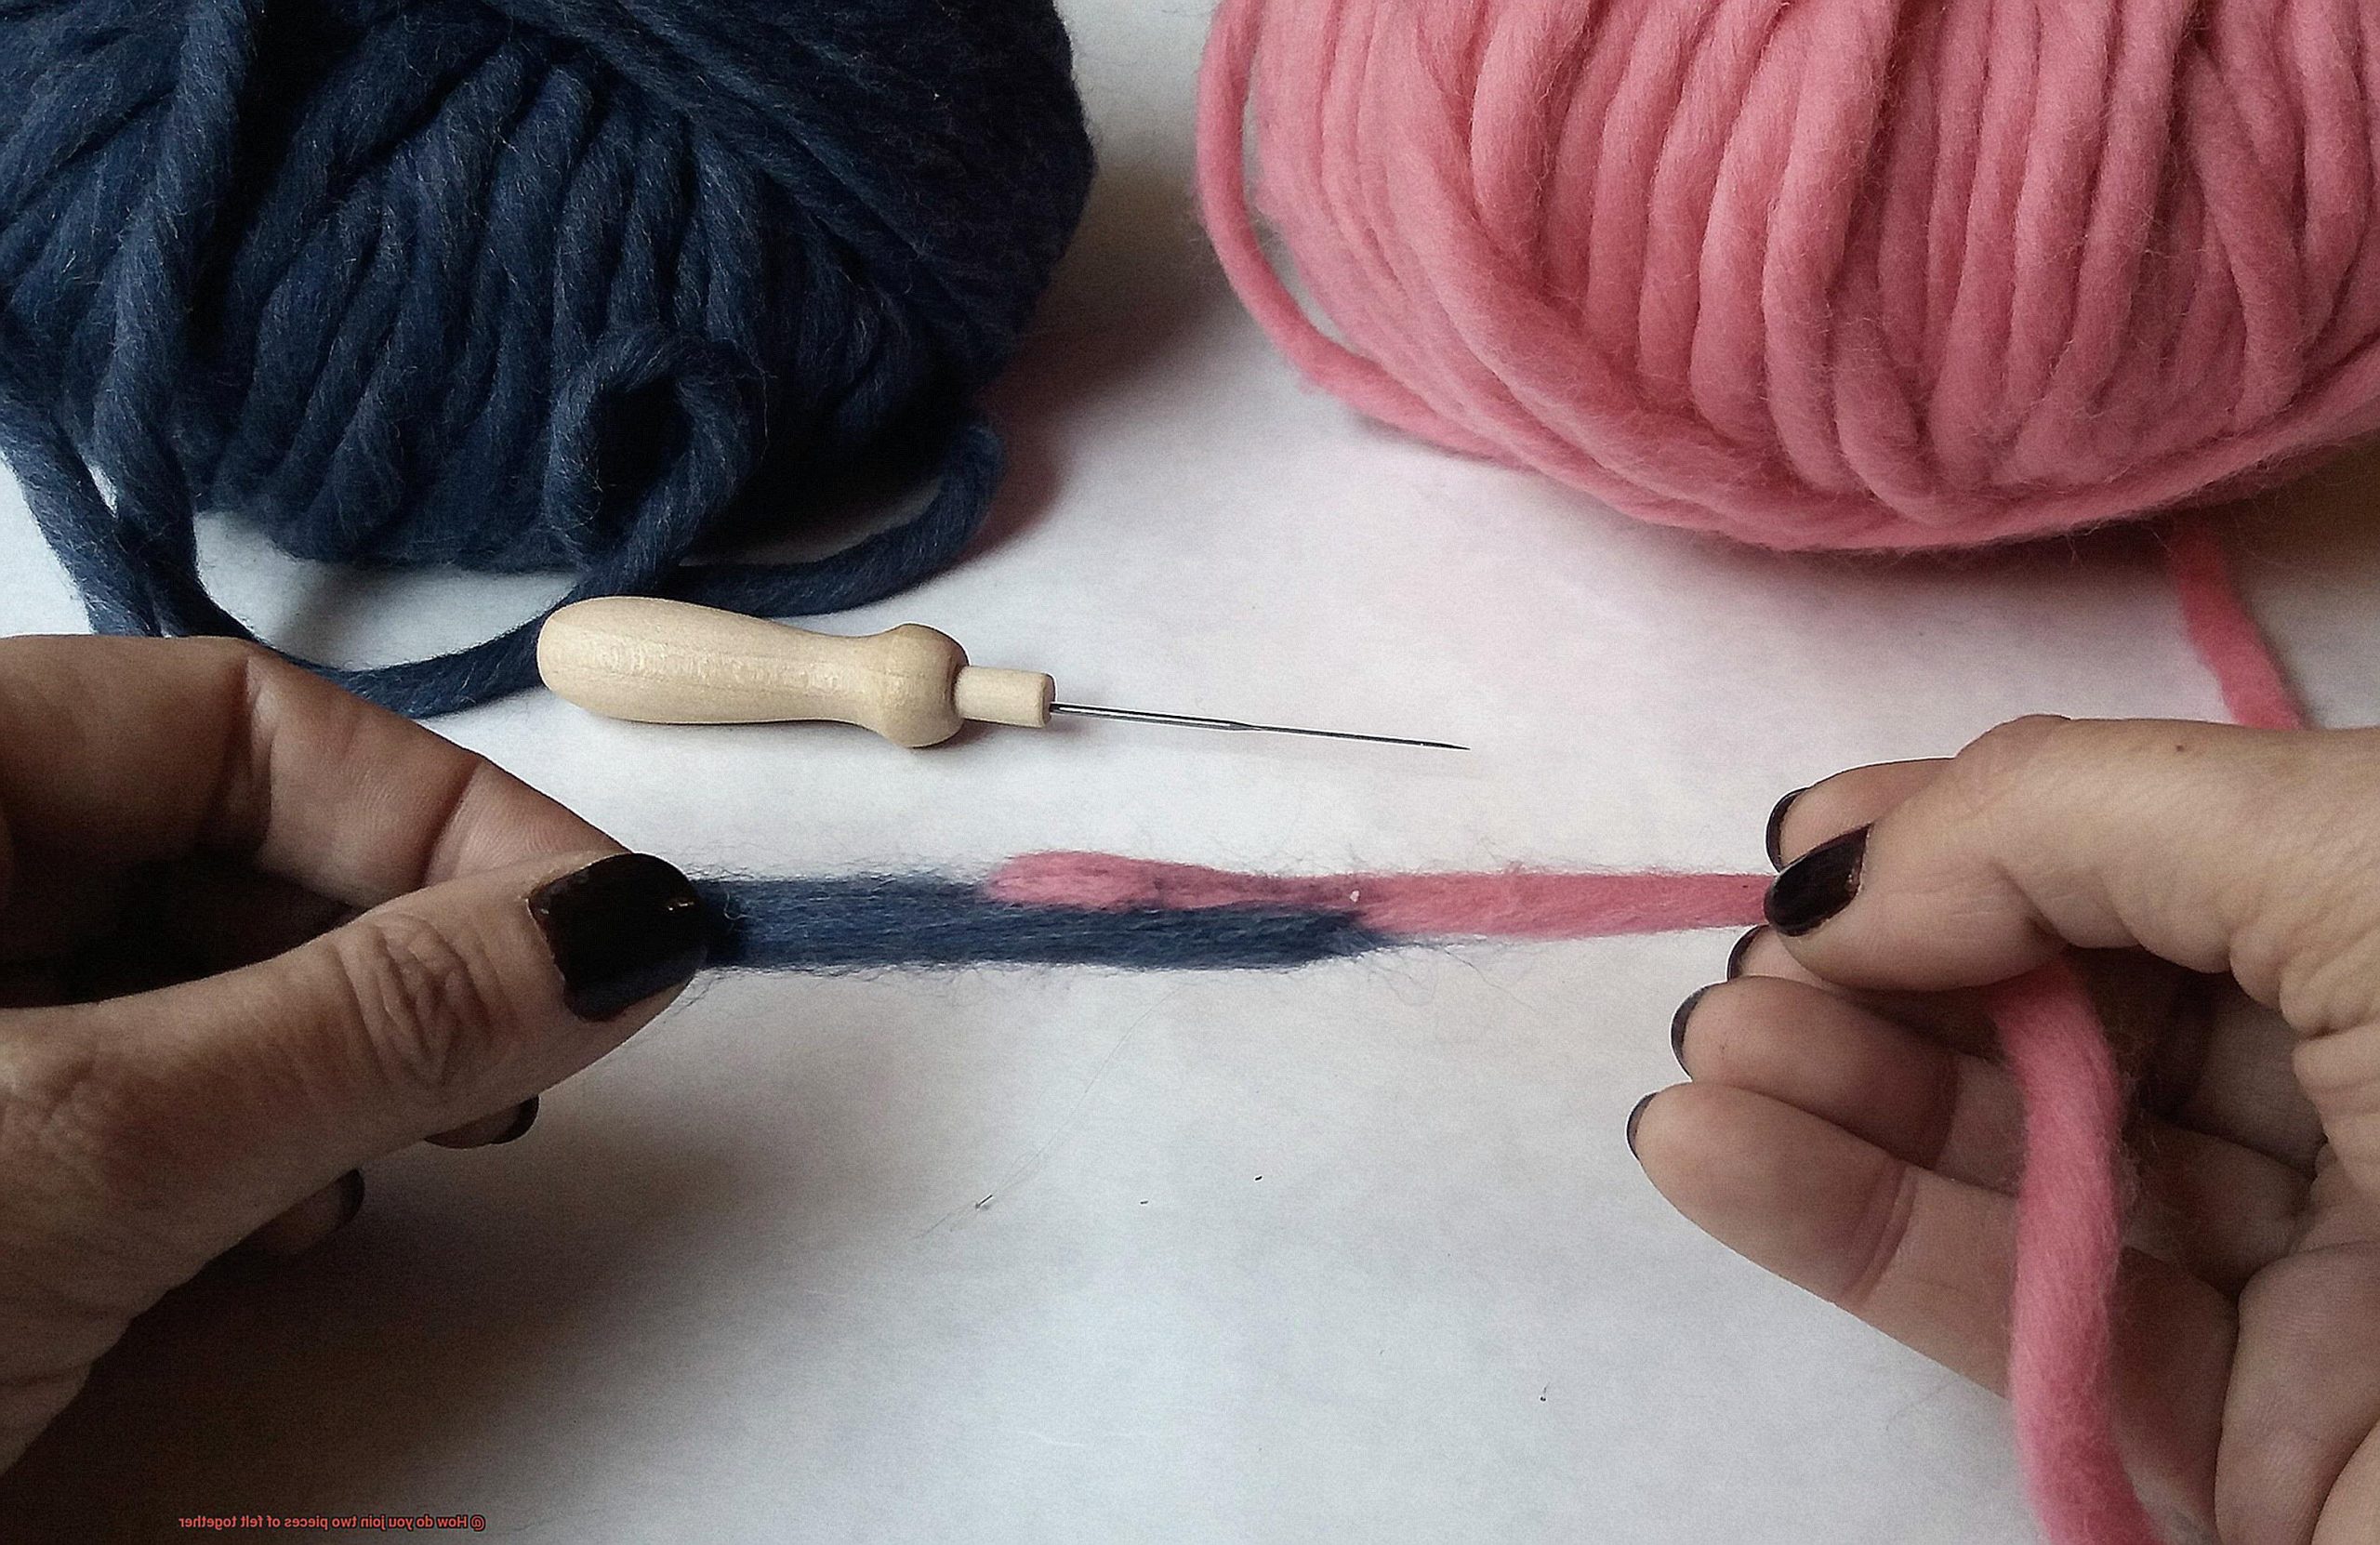
Craft projects, plush creations, or cherished felted items in need of repair – knowing how to seamlessly join two pieces of felt together is a must-have skill for all DIY enthusiasts. It’s not just about craftsmanship; it’s about paying attention to the little details that ensure a clean and sturdy bond. In this blog post, we’ll dive into the techniques involved in joining two pieces of felt, sharing valuable tips and tricks along the way. With the right approach, you’ll be able to create durable and visually appealing seams in no time.
First things first – gather your supplies. Sharp fabric scissors, matching thread, and a hand sewing needle are your trusty companions on this felt-joining journey. Choosing a thread color that matches your felt will elevate the final result, making it look seamless.
Let’s start with one of the simplest and most popular methods – the whipstitch. Align the edges of your felt pieces precisely. Thread your needle, knotting the end securely between the layers of felt. Now it’s time to sew. Start at one end and sew through both layers in a diagonal motion, slightly overlapping each stitch. Keep stitching evenly along the edges until you reach your desired length. Remember to maintain consistent tension so that your stitches neither bunch up nor leave gaps.
For an extra layer of reinforcement, consider working a backstitch after completing the whipstitch. Sew backward through the previous stitch before bringing the needle forward to create the next stitch on the opposite side. This method creates a stronger and more secure bond between your two pieces of felt.
If you’re aiming for an almost invisible join, try out the ladder stitch for a seamless finish. Align those edges precisely once again (precision is key.). Knot your thread and insert your needle about 1/4 inch from the edge on one side. Then insert it into the corresponding spot on the opposite side, creating a slanted stitch between the layers. Keep alternating sides, forming a ladder-like pattern until you’ve stitched the entire seam. Be careful not to pull too tightly, as it may distort your felt.
Now armed with these simple techniques, joining two pieces of felt together will be a breeze. Get ready to create sturdy and visually appealing seams that will make your DIY projects stand out.
What do you need to join two pieces of felt together?
Contents
Felt, a versatile and popular material, is a common choice for crafting and DIY projects. Whether you’re creating plush toys, decorative items, or clothing, knowing how to join two pieces of felt together is essential. This comprehensive guide explores different methods and techniques to help you achieve a strong and durable bond between your felt pieces.
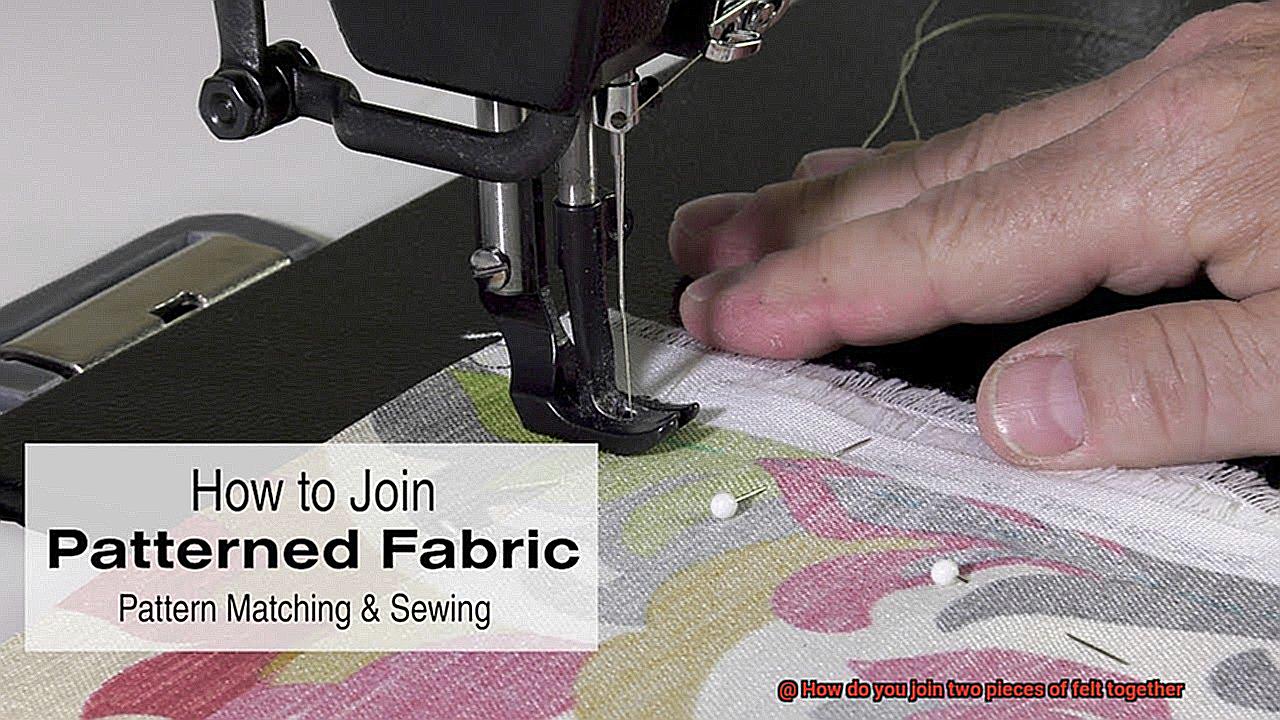
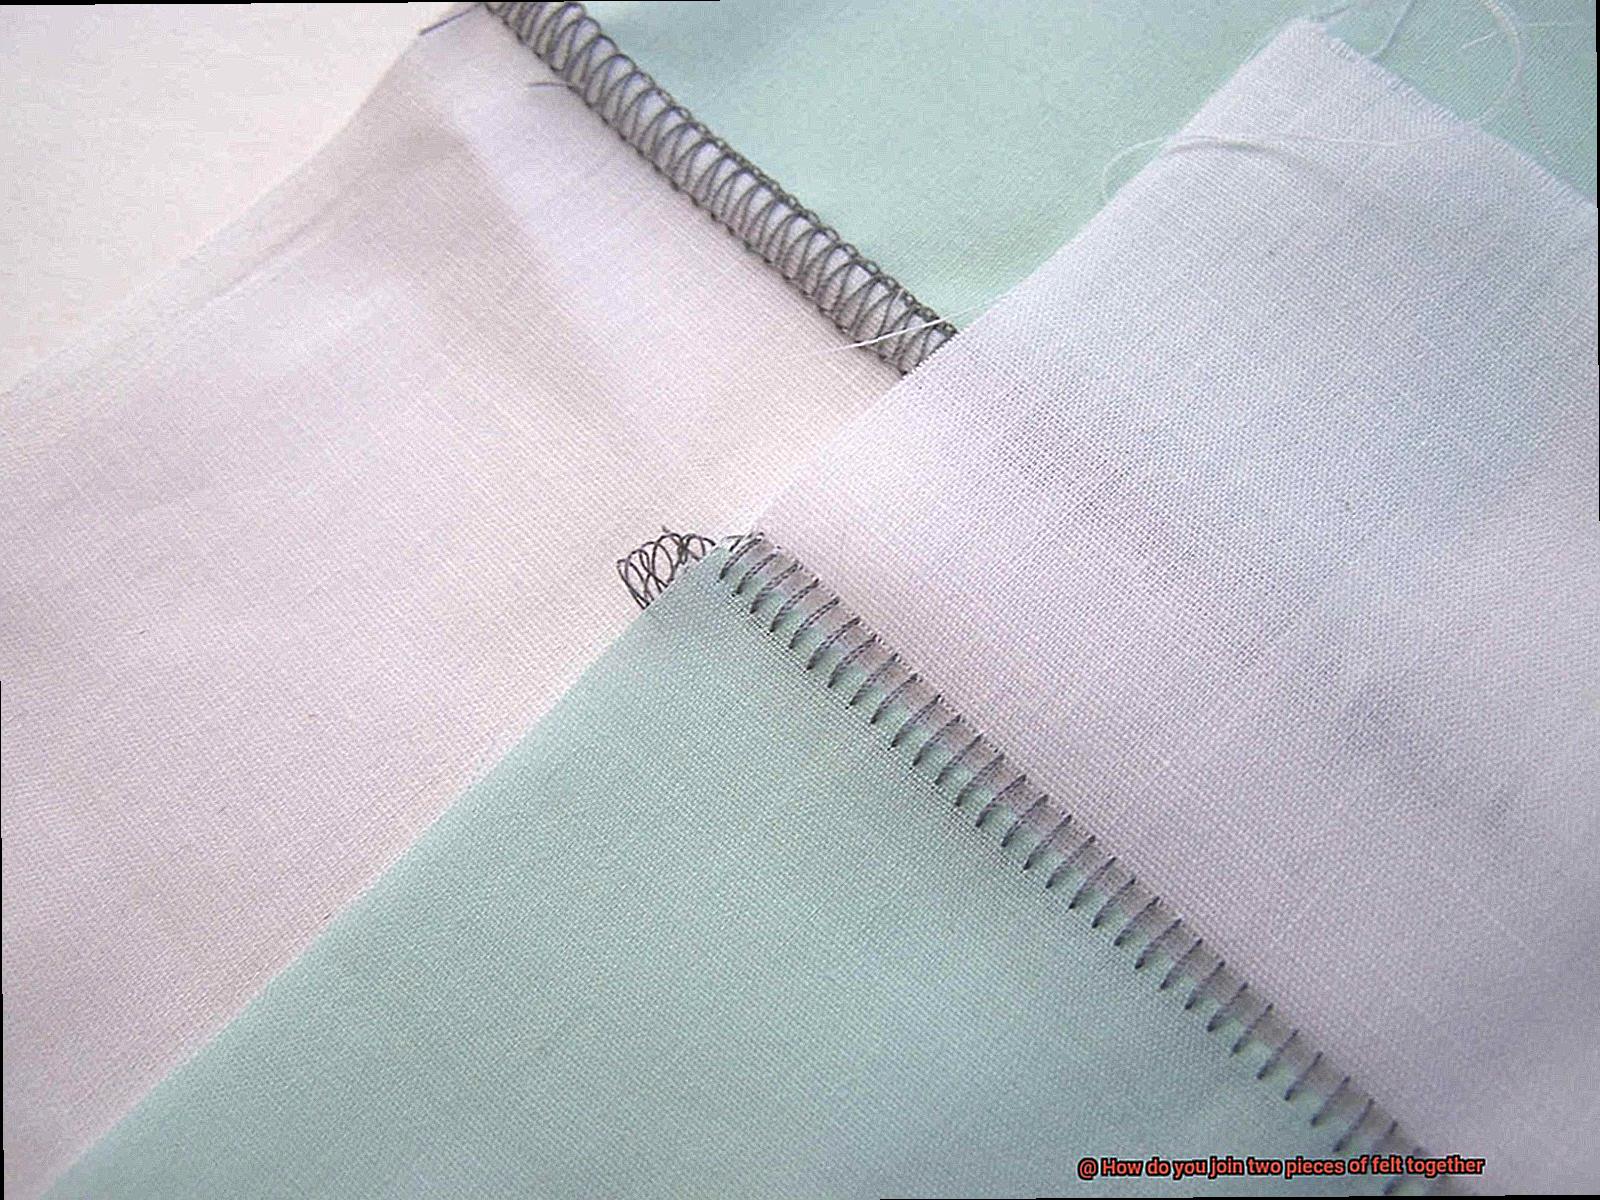
Method 1: Sewing
Sewing is a traditional and reliable method for joining fabrics, including felt. Here’s what you’ll need:
- Needle: Choose a sharp needle with a large eye suitable for the thickness of your felt.
- Thread: Opt for a strong thread that matches your felt color.
- Pins: Use pins to hold the pieces in place before sewing.
- Scissors: Sharp scissors are essential for accurate cutting of the felt.
Step-by-step process:
Align the edges: Place the two felt pieces together, ensuring perfect alignment of the edges.
- Pin the layers: Secure the pieces with pins along the edges.
- Thread the needle: Double-thread your needle and securely knot the end.
- Start sewing: Insert the needle from the backside and pull it through to the front side, starting from one edge.
- Sewing technique: Use straight stitches or whipstitches to sew along the edges, maintaining tension for a tight bond.
- Knot the thread: Finish off by making a knot at the back, passing the needle through a previous stitch loop and pulling it tight.
Method 2: Fabric Glue
Fabric glue offers a quick and easy alternative to sewing, especially for smaller projects or time constraints. Here’s what you’ll need:
- Fabric glue: Look for fabric-specific glue suitable for felt.
- Clean cloth: Use a clean cloth to wipe away any excess glue.
Step-by-step process:
- Choose the right glue: Select fabric glue designed for bonding fabrics, ensuring it is suitable for felt.
- Prepare the surfaces: Clean both pieces of felt to remove dust or lint.
- Apply the glue: Spread a thin, even layer of glue along the edges or areas you wish to join.
- Press and hold: Firmly press the two felt pieces together and hold them in place for the recommended drying time specified by the glue manufacturer.
- Clean up excess glue: Wipe away any excess glue that may have oozed out during the bonding process using a clean cloth.
Sewing Method
The sewing method is a versatile and reliable technique for joining two pieces of felt together. It offers a range of options to suit different needs and preferences. Whether you’re a seasoned seamstress or just starting out, there’s a sewing technique that will meet your requirements. Let’s explore the various methods and discover which one suits you best.
First, we have the running stitch. This simple yet effective stitch involves inserting the needle through both layers of felt and creating a continuous line of stitches. It’s quick and easy, making it ideal for simple projects or when time is limited.
If you need extra strength and durability, the backstitch is the way to go. By alternating between bringing the needle back and up ahead of the previous stitch, you create a strong seam that can withstand stress and heavy use.
For those looking to add a decorative touch to their project, the blanket stitch is perfect. This stitch not only securely holds the felt pieces together but also creates an attractive edge. By inserting the needle at an angle and creating loops along the edge, you achieve both functionality and aesthetics.
Another option is the whip stitch, which involves passing the needle over the edge of the felt in a diagonal motion. This creates a series of small interlocking stitches, resulting in a neat and finished look.

While sewing is the traditional method for joining felt pieces together, fabric glue can also be used as a quick and easy alternative for small or intricate pieces. Simply apply a small amount of glue to the edges of the felt pieces, press them firmly together, and allow them to dry according to the manufacturer’s instructions.
Tools for Sewing Felt Together
Sewing felt together is an art form, requiring the right tools to bring your creative vision to life. Whether you’re a beginner or an experienced sewer, the tools you use can make all the difference in achieving a clean and professional finish. Here are the essential tools for sewing felt together:
- Sewing Machine: A sewing machine is a versatile tool that allows for precise stitching and adjustable settings. When sewing felt, be sure to use a needle specifically designed for this fabric and adjust the tension and stitch length settings for optimal results.
- Sewing Needles: For hand sewing, there are various types of needles to choose from. Sharp needles are perfect for creating small and precise stitches, while embroidery needles have larger eyes for threading thicker threads or yarns. Tapestry needles, with their blunt tips and large eyes, are ideal for sewing with thicker materials like felt.
- Thread: Polyester or cotton threads are recommended for their strength and durability when sewing felt. Choose a thread color that matches or complements your felt for a seamless look.
- Thimble: To make your sewing experience more comfortable, consider using a thimble. It provides protection and helps push the needle through the fabric with ease. Thimbles come in various materials, so choose one that suits your comfort and preference.
- Pins: Before stitching, pins can be used to hold the felt pieces together. Flat-headed pins are best for working with felt to prevent damage to the fabric. Place them within the seam allowance to avoid leaving visible holes.
- Seam Ripper: Mistakes happen, but fear not. A seam ripper is a handy tool that allows for easy removal of stitches without damaging the fabric.
- Pinking Shears: If you want to trim the seam allowance of your felt and prevent fraying, pinking shears are your go-to tool. These scissors with a serrated edge create a zigzag pattern when cutting fabric, reducing bulk and adding a decorative touch.
Steps for Sewing Felt Together
Whether you’re a crafting novice or a seasoned pro, this article is your ultimate guide to creating secure and durable felt projects. Prepare to embark on a stitching adventure, armed with your favorite felt pieces and an insatiable creative spirit.
Step 1: Gather Your Materials
Before diving into the stitching frenzy, ensure you have all the essential tools at your fingertips. Grab two pieces of felt, matching thread, sewing needles, and if you’re feeling curious about alternative methods, fabric glue.
Step 2: Position Your Felt Pieces
Place your two pieces of felt together, with the sides you wish to join facing inward. This clever technique conceals your stitches or glue for a flawless finish.
Step 3: Sewing – The Classic Approach
Thread your needle with a comfortable length of thread. For added strength, consider double-threading. Starting from a corner or edge of the felt, insert the needle through both pieces, aligning them perfectly. Begin sewing by creating small, even stitches along the edge until you reach the opposite corner or edge. Secure your seam with a small knot at the end.
Step 4: Gluing – An Alternative Method
If sewing isn’t your forte or time is of the essence, fabric glue can be a game-changer. Apply a thin layer of fabric glue along the edges to be joined and firmly press them together. Allow the glue to dry completely before proceeding.
Step 5: Finishing Touches
Inspect your seam or glued edge to ensure it’s secure and absent of loose threads or gaps. Reinforce any areas that may require extra attention for added durability.
Sewing felt together is an incredible journey that allows you to breathe life into your creative visions. Whether you choose the classic sewing approach or opt for the quick and easy gluing method, your felt creations will flourish with security and longevity.
Unleash your inner artist, experiment with diverse stitches or glue designs, and let your imagination soar as you sew and glue your way to felt perfection. Happy crafting.
Adhesive Method
The adhesive method is a versatile and efficient technique for joining two pieces of felt together. This method utilizes various types of adhesives, including fabric glue, hot glue, and craft glue, to create a strong and durable bond. Let’s dive deeper into this fascinating adhesive method and explore its sub-topics.
Firstly, let’s discuss the different types of adhesives suitable for joining felt. Fabric glue is a popular choice due to its ability to provide a strong bond while remaining flexible after drying.
It comes in convenient tubes or bottles with narrow nozzles for easy application. Hot glue, on the other hand, offers instant bonding and is perfect for quick projects.
However, it may not be suitable for delicate or lightweight felt pieces. Craft glue is another versatile option, available in various formulas such as clear-drying or quick-drying, and can be applied precisely with a brush or applicator.
Preparing the surfaces properly is crucial for a successful adhesive bond. Clean the felt pieces thoroughly to remove any dirt or debris that could hinder adhesion.
Additionally, lightly sanding the surface with sandpaper can enhance the bonding process.
To apply the adhesive, spread a thin and even layer on one piece of felt, ensuring full coverage. Carefully align the edges of the second piece of felt before pressing it onto the adhesive. Apply gentle pressure to the joined area for a few seconds to ensure a secure bond.
Allowing adequate drying time is essential for a strong bond. The drying time varies depending on the adhesive used, so it’s important to follow the manufacturer’s instructions. Patience is key.
While adhesives are effective for many felt projects, it’s important to consider their limitations. If your project will undergo frequent washing or heavy use, sewing or stitching may be a more durable option.
Types of Glue for Joining Felt Pieces
Choosing the right glue for joining felt pieces together is crucial in creating strong and durable bonds. In this blog post, we will explore five different types of glue that can be used for this purpose. From fabric glue to hot glue guns, each option has its own advantages and considerations. By understanding the characteristics of each type of glue, you can make an informed decision and ensure the success of your next felt project.
Fabric Glue:
Fabric glue is a popular choice for joining felt pieces due to its flexibility and durability. Specifically formulated for bonding fabric materials, including felt, fabric glue offers ease of application through a bottle with a nozzle. It dries clear, ensuring a seamless finish. Fabric glue is particularly suitable for projects like clothing or accessories that require flexibility.
Hot Glue:
Versatile and widely used in various crafts, hot glue guns are another option for joining felt pieces together. The adhesive sticks used in hot glue guns melt upon application, creating a strong bond with the felt. While hot glue provides a quick and secure bond, it may not be as flexible as fabric glue. Care should be taken to avoid burns when using a hot glue gun.
Craft Adhesive:
Craft adhesive is an all-purpose glue that works well on various materials, including felt. Available in squeeze tubes or bottles, craft adhesive can be directly applied to the felt surfaces. It forms a durable bond that is resistant to moisture and heat, making it suitable for a wide range of applications.
Water-Based Glue:
For eco-conscious crafters, water-based glues offer an environmentally friendly option. Non-toxic and safe to use, especially when working with children or in enclosed spaces, water-based glues dry clear and provide a strong bond between felt pieces.
Specialty Adhesives:
Specialty adhesives, such as spray adhesives, are specifically designed for felt. Available in spray form, these adhesives provide an even coating on the felt surfaces, ensuring a strong and uniform bond. They are particularly useful for larger projects or when joining larger pieces of felt together.
Steps for Joining Felt with Glue
In this blog post, we’ll walk you through the steps to create strong and durable connections using various types of adhesive. So, let’s get started.
Step 1: Prep Your Felt
Before diving into the gluing process, ensure that your felt pieces are clean and debris-free. Give them a gentle brush or shake to remove any loose particles. A clean surface is essential for a successful bond.
Step 2: Choose the Right Glue
Selecting the appropriate type of glue is crucial for a secure join. Consider the specific requirements of your project and choose from options like fabric glue, craft glue, or even the trusty hot glue gun. Each adhesive has its own strengths and weaknesses, so choose wisely.
Step 3: Lay it Flat
Place your felt pieces on a clean and stable surface. To protect your work area, consider using a protective layer underneath. This precaution will prevent any accidental damage during the gluing process.
Step 4: Apply the Glue
Using a steady hand, apply a thin and even layer of glue onto one of the felt pieces. Start from the center and work your way towards the edges. Be mindful not to go overboard with the glue; too much can seep through the fibers and create an unsightly mess.
Step 5: Press and Align
Gently press the second piece of felt onto the glued area, ensuring that the edges align perfectly for a polished finish. Apply gentle pressure to firmly join the two pieces together. Voila. Your felt is now bonding beautifully.
Step 6: Allow Time to Dry
Patience is key here. Let your glued felt pieces dry completely before handling or moving them. The drying time can vary depending on the type of glue used, so refer to the manufacturer’s instructions for guidance.
Step 7: Reinforce if Needed
Inspect your project for any loose edges or areas that might require reinforcement. If necessary, apply a small amount of additional glue to secure these spots. It’s better to be safe than sorry.
Step 8: Consider Sewing for Durability
While gluing is an effective way to join felt, it may not provide the same level of durability as sewing. For projects that require extra strength, consider reinforcing the bond by using a needle and thread in addition to glue.
Step 9: Test Before You Glue
Before applying glue to your entire project, it’s always a good idea to test a small area first. This will ensure that the glue won’t cause any discoloration or damage to your precious felt.
Alternatives to Joining Felt Together
Crafting with felt is a joy, but there’s no need to rely on glue for joining pieces together. If you have allergies or want to explore eco-friendly options, there are exciting alternatives to consider.
In this blog post, we’ll dive into some inventive methods that will let you create beautiful projects without the sticky mess. Let’s get started.
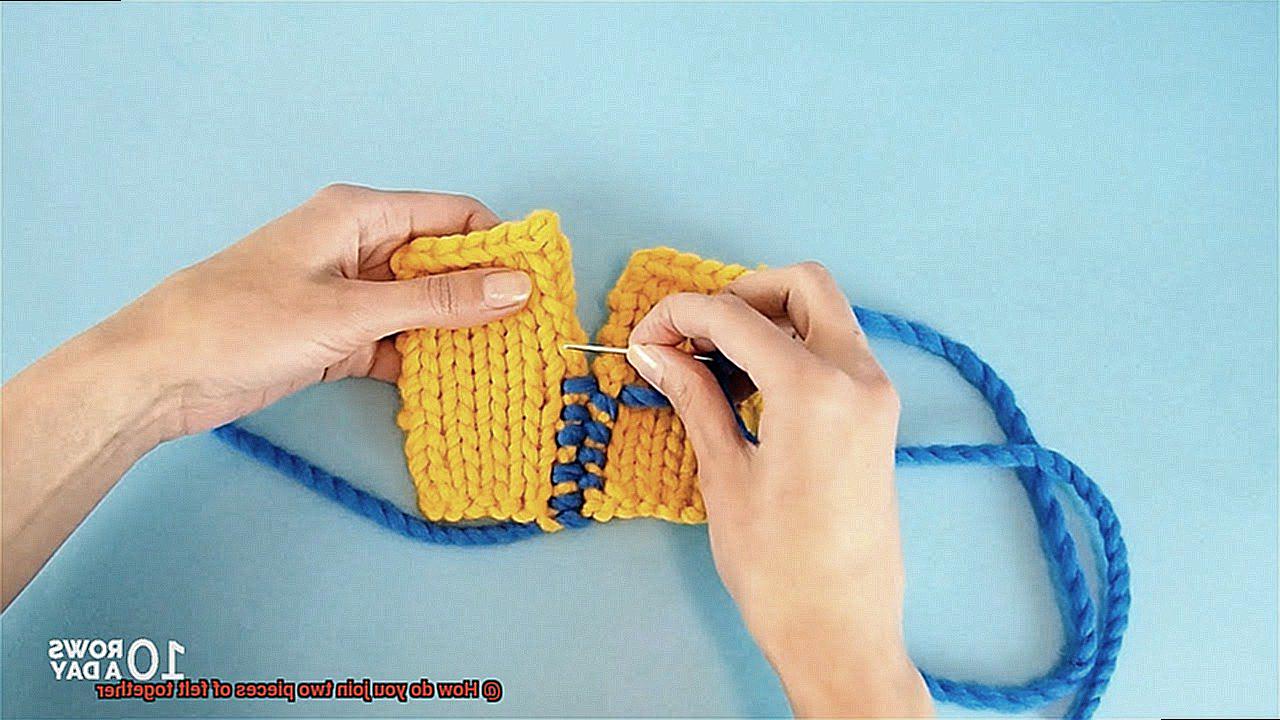
Sewing:
Sewing is a timeless and reliable alternative for joining felt pieces. With a needle and thread, you can create a strong bond while adding a touch of charm. Experiment with different stitching patterns and thread colors to enhance your project’s aesthetic appeal.
Sewing is perfect for durable items like bags, plush toys, or garments.
Fabric Tapes:
Fabric tapes designed for adhering to various fabrics, including felt, offer another excellent alternative. These double-sided tapes provide a temporary bond, allowing for easy separation if needed. They’re ideal for reversible or temporary projects. Explore the range of widths and strengths available to find the perfect fit.
Heat Bonding or Fusing:
Heat bonding is a quick and efficient method that creates a strong bond without sewing or additional materials. Using heat-activated adhesives or fusible webbing, apply the adhesive to one piece of felt and use an iron or heat press machine to activate it and bond the two pieces together. This technique is commonly used in applique work or layered designs.
Velcro:
Velcro offers versatility and practicality as an alternative to glue for closures on felt items like bags, wallets, or clothing. The hook side and loop side latch onto each other, creating a secure connection. With various sizes and strengths available, you can choose the most appropriate Velcro option for your project.
S9zegUYdPmg” >
Conclusion
Joining two pieces of felt together can be done in several ways.
One simple method is to use a needle and thread to sew the edges of the felt together. This creates a strong and durable bond that can withstand regular wear and tear.
Another option is to use fabric glue or adhesive tape specifically designed for fabrics. These adhesives provide a quick and easy way to join the felt pieces without the need for sewing.
This method is ideal for creating seamless joins and is commonly used in professional garment making.